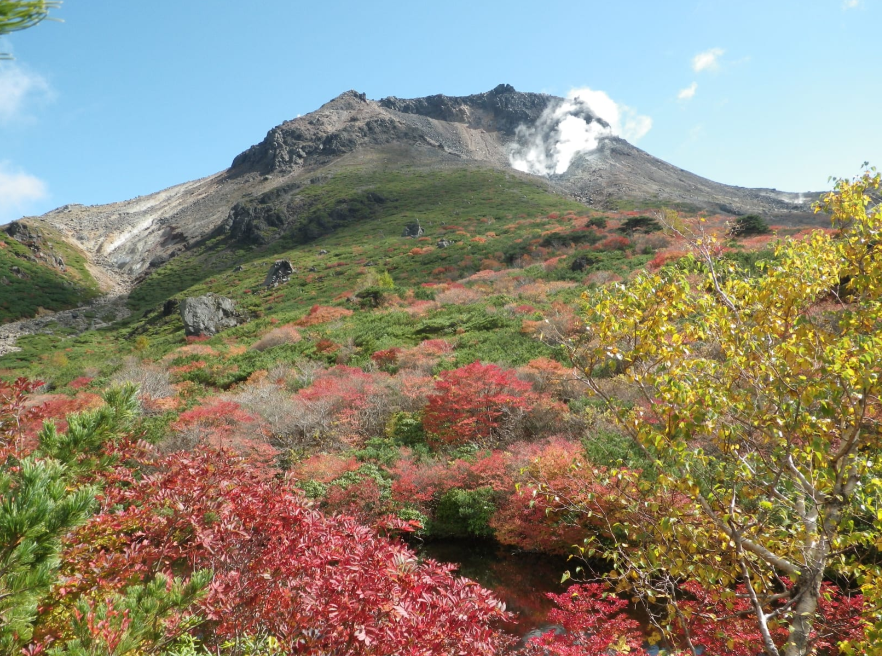
In the northern part of Tochigi Prefecture (in Tokyo’s orbit). There is a group of active volcanic peaks that are collectively called Mount Nasu. The summit of the highest peak, Mount Chausu. It rises to 1,915 meters and is still volcanically active. Its summit can be seen with steam vents. The hike to Mount Nasu is a popular destination for day trips and weekends. The visitors are looking to explore volcanic landscapes without a journey too far.For those interested in exploring another iconic volcanic peak in Japan, Mount Yotei is another rewarding hiking destination.
Table of Contents
Exploring the Mountain Range
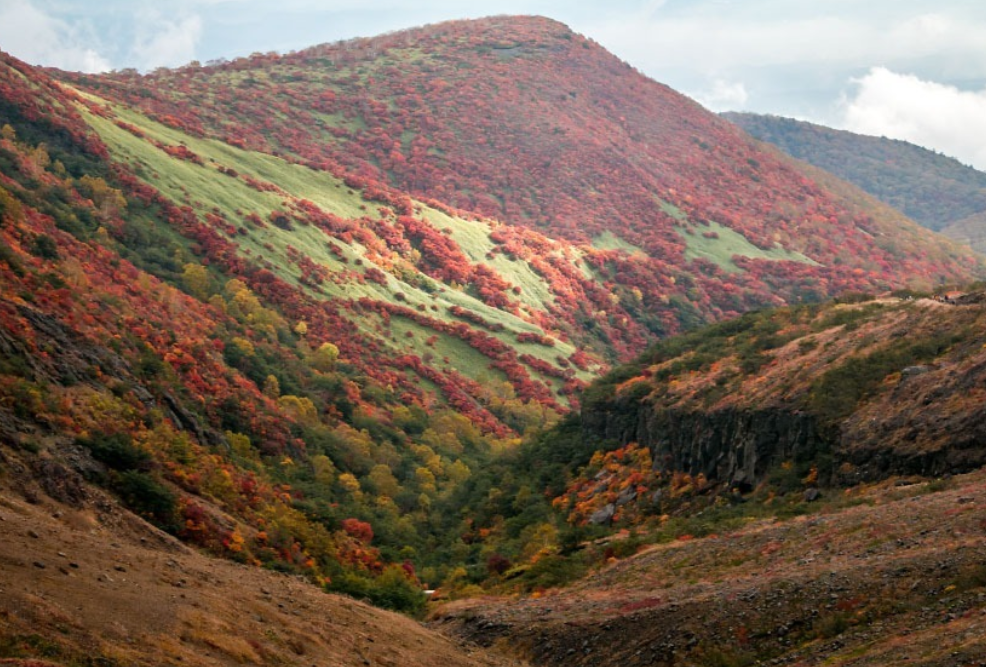
The Chausu, Asahi, and Sanbonyari are all volcanic summits that make up Mount Nasu. The two peaks are part of Nikko National Park. They are celebrated for their exposed ridgelines, sulfur vents, and panoramic views of the Kanto Plain.
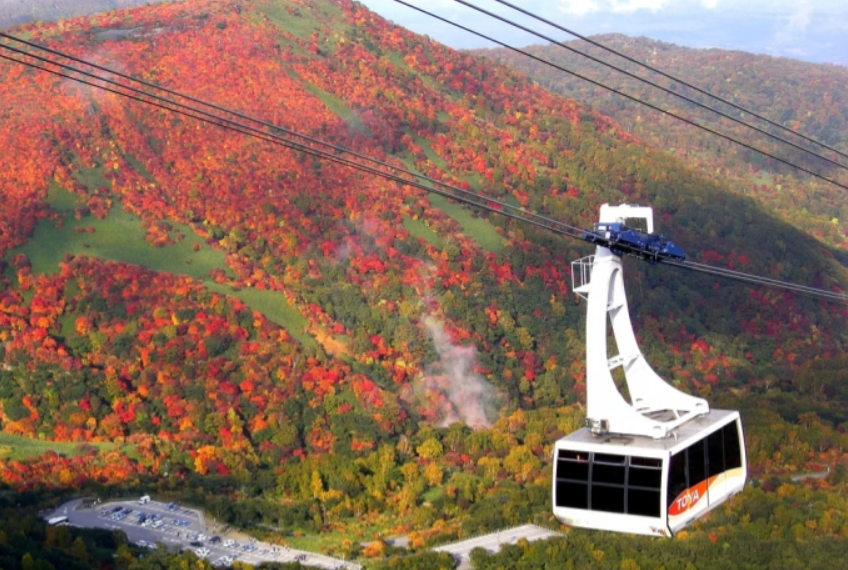
One of the most popular hikes on Mount Nasu is the trek to its volcanic area. It is said to provide a true experience of Mount Nasu’s volcanic activity in a relatively short distance. Even on the lower slopes, there’s a ropeway for less experienced hikers to get to higher levels.
The climb is planned in conjunction with several weeks preceding it.
Planning the Trip
It’s best to start preparing for a hike on Mount Nasu a few weeks before. This should be done with a frank appraisal of fitness. The ridge sections close to the summit may be steep and exposed to the wind. During this time, it is advisable to build up stamina by walking, light jogging, or climbing stairs regularly.
Routes should also be confirmed in the early stages. The Chausudake Route is considered the easiest, as a lot of the climbing is not done.
The Sanbonyari Route is a popular choice for those looking for a more challenging route. This trail leads to several peaks and is a much more strenuous and time-consuming hike for more advanced hikers.
Days Before the Hike: Equipment and Preparations
Prepare equipment to be taken with you on the trip, and test it as the trip gets closer. The right pack is a must on a hike with a mountain, and the following is a recommended list:
- Well-fitting and solid hiking boots.
- Ridge winds can be strong, so it is important to have windproof and waterproof outer layers.
- A warm layer in the middle of the shoes, including in the summer months
- Keep the trekking poles with you – they’re helpful on volcanic gravel or on steep pitches.
- A dust/dust and gas mask (recommended by some guides because of the sulfur emissions that are found at the crater)
- Sunglasses and sunscreen (where there are few trees to provide shade along the sun-exposed areas)
- Adequate water and energy snacks
- First aid box—simple first aid kit.
- A map or navigation app with offline indication.
This is the time when boots need to be broken in completely. As a first-time hiker, complaints include blisters on this trail.
An additional practice walk within the same timeframe, preferably in full pack gear, is a good idea for a few days. Before one departs for the hike on Mount Nasu, any adjustments can be made prior to the start of the Mount Nasu hike.
The Night Before: Last Preparations
Final Checks should be made the night before leaving. One more look at the weather forecast is recommended, especially the wind speed – strong gusts are often found along the summit ridge. Where it looks like it won’t be a good weather day, some flexibility should be incorporated into travel plans, as it’s safer to wait for better weather than to take chances in bad weather.
The same is true for a hiking itinerary. It should be given to a person who does not accompany the hike. It should be registered at a local visitor centre, as is common for hikes in Japan. Packs should be unpacked and rechecked with the list of gear before going to bed at night.
It is important to begin early if you can. If you can, get started early – in the morning.
It is recommended to hike up Mt. Nasu as early as possible. The clouds and wind intensify during an afternoon hike. Most hikers start from the starting point of the ropeway station. By using the mechanical lift, the initial climb up the mountain is greatly lessened.
The hiking section of the trail starts from the top of the ropeway. This first section is mainly composed of volcanic gravel and low vegetation. Further, the groundbecomesg increasingly steep as one approaches the crater rim in this section.
The Ascent: Climbing the Hill
The trail becomes constricted at a higher elevation, and loose volcanic rock becomes more common on the trail. Extra care will need to be taken here, and trekking poles are helpful to keep balance when walking. Many steam vents are found along this section, with the release of sulfurous gas, sometimes very strong, that can be detected.
This is a recommended slow, deliberate pace in a section of the hike on a mountain with loose terrain, and to get used to the increased wind exposure. There are a few places where there are steeper spots that have handrails and chains, which should be utilised if available.
As they approach the summit, the crater can be seen partially; the contrast of the bare, stark crater against the green slopes below is striking. It is likely this final stretch of the course is the most challenging part, with its elevation, wind, and rocky terrain.
Taking in the Views at the Top
Viewing on arrival at the summit provides extensive views towards Tochigi Prefecture and, on particularly clear days, towards the distant Kanto Plain. The crater itself is a spectacular view, and steam may be seen from the vents that occur all over the surface.
This is a considerable exposure to the wind, and the time spent at the top end is recommended to be kept to a minimum, rather than lengthy, especially if wind gusts are high. Photographs, a short rest, and rehydration are usually sufficient prior to descent.
Heading Back Down
When hiking down Mount Nasu, the same precautions must be taken, if not more. Footing can be difficult with loose volcanic gravel, and it is important to take it slowly all the way through; trekking poles are used regularly and will always help to reduce knee loading.
Generally, the same route that is used for going up is followed back down, unless an alternative has been specifically planned. The ropeway can then be used again to get back down the mountain without the need to struggle all the way down, for the more fun many people get from the mountain after an arduous day outdoors.
Staying Safe Throughout
This is one of the many mountains that have active volcanoes, and several safety measures are deemed essential for the mountain:
- Volcanic alert levels should be confirmed prior to travelling here as gas emissions are actively monitored.
- Care must be taken with wind forecasts, as ridge sections may be hazardous in high gusts.
- Carry a dust mask in case of excessive sulfur odour in the vicinity of vents.
- Layered clothing must always be packed as there are temperature variations throughout the day between base and summit.
- When hiking, always hike in pairs and keep close to each other on exposed and narrow trails.
- It is important to note that during some phases of volcanic activity, access to the trails may be limited, and local information and announcements will be updated regularly.
Once you use this structured approach, in planning and executing the hike from start to finish, you are likely to complete your hike safely without taking a needless risk on the mountain.
The Opportunity to Enjoy a Rewarding Day Trip From Tokyo
The fact that this mountain is so accessible, yet brimming with real volcanic drama, is what makes it so appealing. There are very few places in Tokyo that have steam vents, uncluttered ridgelines, and expansive plains vistas all in one day’s excursion.
Though this range may seem more convenient, it’s still a trip that’s worth planning, as it offers a satisfying balance of ease and adventure for hikes that are both achievable and memorable.
