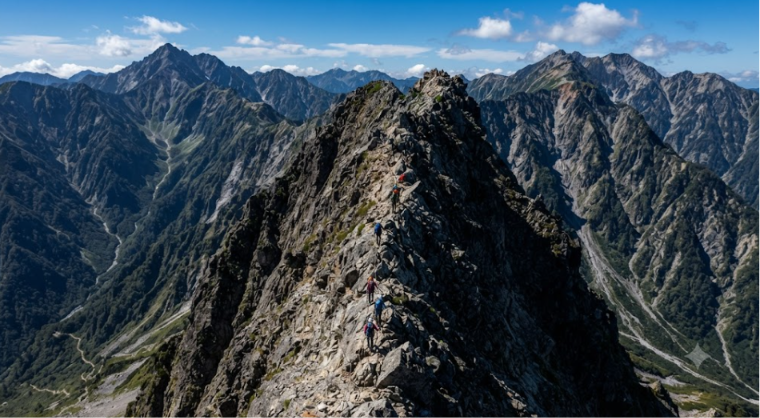
If you love mountains and are always ready for adventures then you may have heard about the Daikiretto Traverse. It is one of the most interesting and difficult hiking routes in Japan. This journey is difficult because it has narrow rocky paths, steep climbs but you can see the beautiful mountain views.
Definitely it is not a good choice for beginners or for people who come to hike with family or friends. This journey will be dangerous so you need to be well prepared before you go. This journey is for experienced hikers so when you are hiking in these places you must know what is the right gear to carry.
So from this guide you will learn about what the Daikiretto Traverse is, why it is dangerous, how to prepare for the trip, and who should attempt it.
Table of Contents
Daikiretto Traverse 3-Day Itinerary
Day 1: Kamikochi to Yarigatake Sanso
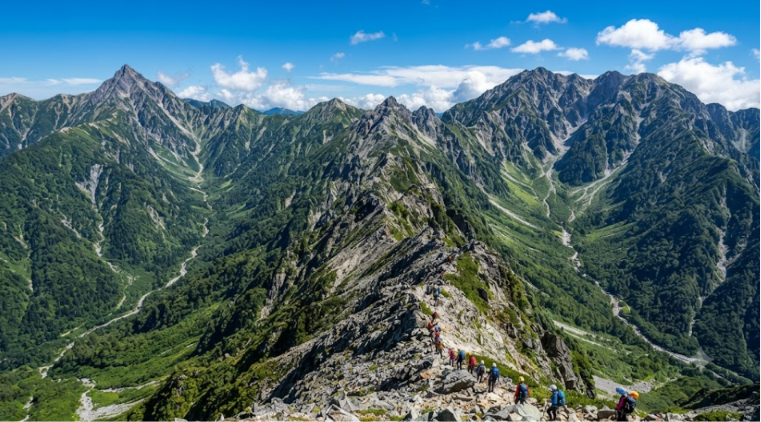
Starting Point For Epic Adventure

Scenic Start Through Kamikochi Valley
Day 2: Yarigatake Sanso to Kitahotaka Sanso
This is the hardest and most exciting part of the whole hike. In this journey you will see the famous Daikiretto Traverse and the route will be narrow in the mountain areas.
This journey has steep rocks, ladders, chains and some parts are very difficult to climb. You need to move slowly and carefully. Don’t forget to look where you are going and always watch where you place your foot.
When you complete this difficult journey then move towards the Kitahotaka Sanso. After completing this journey you need to reach the mountain hut. Sleep there overnight and eat some food to gain some energy.
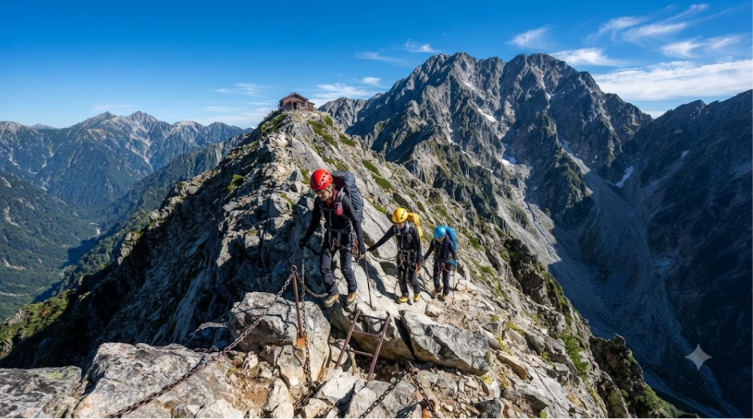
Epic Ridge Crossing Ends Successfully
Day 3: Kitahotaka Sanso to Okuhotaka and Kamikochi
On the third day which is the last day of your journey you will continue your hike toward Okuhotaka. And from there you will see more beautiful mountain views. This was your last point of the journey. After enjoying the scenery start your journey back toward Kamikochi.
The full hike is challenging so the important thing is that you be careful in your trekking and also don’t rush; take your time to enjoy the trip. During the journey take some breaks, drink enough water and enjoy the journey. This three-day plan gives people enough time to rest and enjoy the beautiful views without feeling too rushed.
| Day | Route | Highlights | Stay |
|---|---|---|---|
| Day 1 | Kamikochi → Yarigatake Sanso |
• Walk through forests and mountain trails. • Enjoy beautiful alpine views. |
Yarigatake Sanso |
| Day 2 | Yarigatake Sanso → Kitahotaka Sanso |
• Cross the famous Daikiretto Traverse. • Climb rocky sections with chains. |
Kitahotaka Sanso |
| Day 3 | Kitahotaka Sanso → Okuhotaka → Kamikochi |
• Enjoy panoramic mountain views. • Return safely to Kamikochi. |
Finish at Kamikochi |
Is the Daikiretto Traverse Safe?
The Daikiretto Traverse is not that safe but you can hike it if you have good hiking experience and are well prepared before your trip. Before starting this journey you need to know about carrying the right gear and checking the weather.
But this journey will be very dangerous especially when the weather is bad. Some of the main problems you may face.
- Strong winds – Strong winds can make it hard to keep your balance.
- Rain – Rain is one of the big problems. It can make the rocks very wet and slippery.
- Slippery rocks – Wet or smooth rocks can make you fall easily.
- Thick fog – Fog can make it hard to see the path in front.
- Loose stones – Small rocks may move under your feet and cause you to lose your balance.
- Tiredness – The hike is long and hard so you will feel very tired. Take some rest whenever you need.
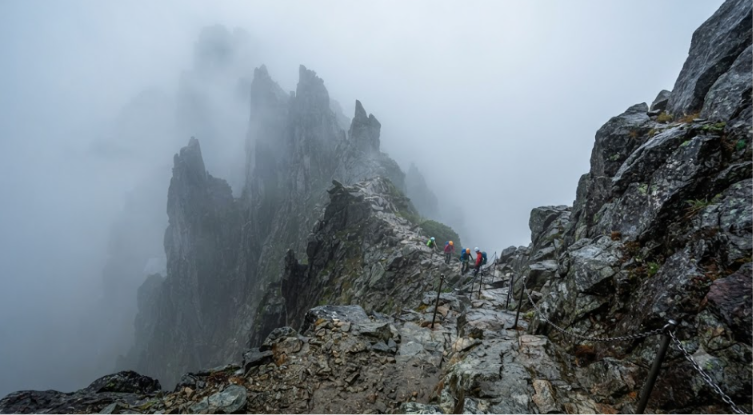
Fog Makes Hiking More Dangerous
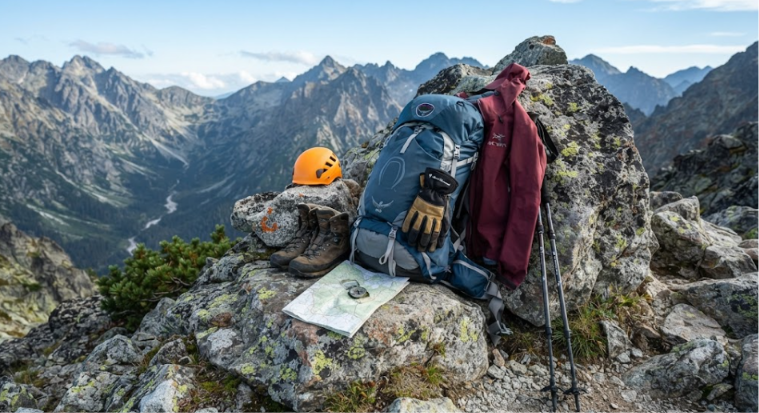
Essential Gear Before Every Hike
Mountain weather can change very quickly. The weather may look normal in the morning but can become windy, rainy, or foggy later in the day. Because of this even experienced hikers may decide to wait, turn back or cancel their hike when the weather is not safe.
The most important thing is to never rush forward. Take your time to check the weather, follow safety rules and know your own limits, like don’t travel more in a day. Good preparation can make your hike safer and more enjoyable.
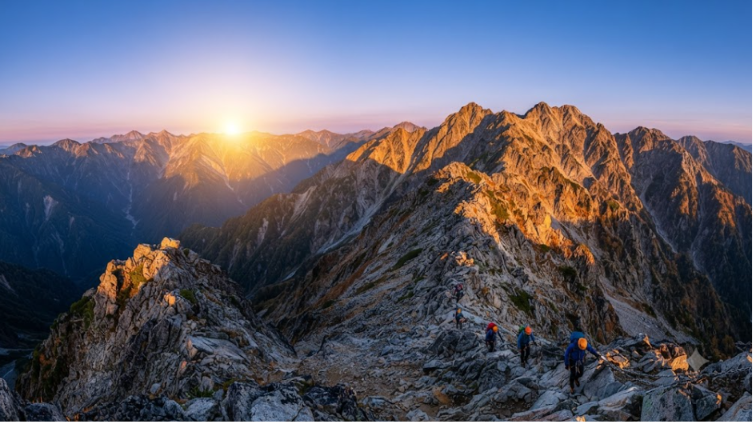
Sunrise Above Japan’s High Mountains
Who Should Hike the Daikiretto Traverse?
The Daikiretto Traverse is best for experienced hikers, mountain climbers, even for people who love adventure, people who are comfortable with heights and finally for people who are physically fit.
It is not a good choice for:
- Beginners
- Young children
- People who are afraid of heights
- People who have never done mountain hiking before
This hike is not suitable for the people mentioned above and always choose the hiking route according to your capacity, like how much you can walk and your hiking experience. This will help you stay safe and enjoy your hiking trip.
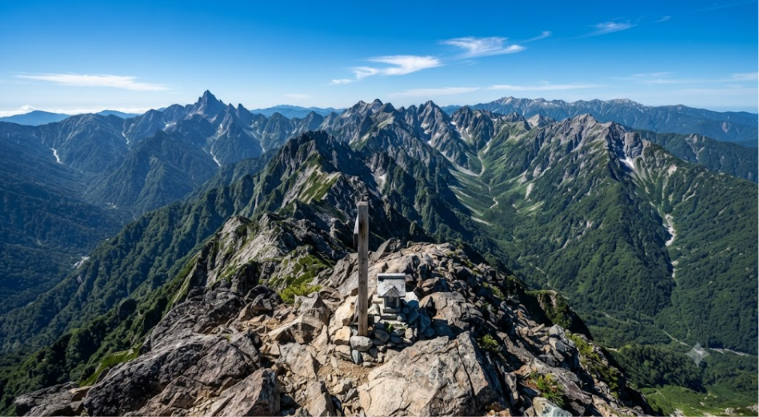
Rewarding Views From Mountain Summit
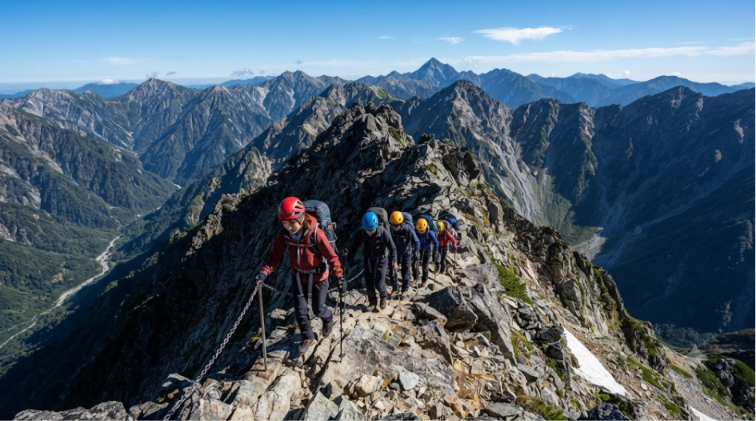
Experienced Hikers Enjoy Ultimate Challenge
Is the Daikiretto Traverse a Good Hike for You?
This journey is one of the most famous and difficult mountain routes in Japan. This journey is amazing and it has many places where the views are fabulous but the only thing is that this journey is dangerous and you need to plan well.
You need good hiking experience, strong fitness and the right equipment is also important. You also need to check the weather before starting your hike. If you love adventurous hiking, our Okuhotaka to Nishihotaka guide covers another serious Northern Alps ridge.
If you are an experienced hiker who loves mountains and wants to try a big adventure then the Daikiretto Traverse can be a very special experience for you. With good planning and careful hiking you can enjoy the beautiful views and make wonderful memories in the Japanese Alps.

Adventure Creates Lifelong Mountain Memories
⚠️ Important Safety Tips
- Only experienced hikers should attempt this route.
- Check the weather before starting your hike.
- Wear sturdy hiking boots and carry proper safety gear.
- Never rush on narrow ridges or steep sections.
- Turn back immediately if the weather becomes unsafe.
History of the Daikiretto Route
The Daikiretto earned its reputation long before modern hiking gear existed. Early mountaineers in the Taisho era pioneered the traverse with minimal equipment, establishing the chains and ladders that remain essential today. The name itself — “great cut” — describes the dramatic notch carved between Mount Yarigatake and the Hotaka massif.
Despite improvements in fixed protection, the route’s character has changed little. It remains a serious undertaking that commands respect, with weather and exposure dictating success more than fitness alone.

Emergency Huts and Bailout Points
Several mountain huts serve the Daikiretto corridor. Yarigatake Sanso and Hotaka Sanso anchor the two ends, while Kitahotaka Sanso sits mid-traverse. These huts offer meals, bunks, and crucial weather updates — check conditions each morning before committing to the ridge.
Bailout options are limited once on the ridge proper. The safest strategy is conservative planning: build buffer days into your itinerary and be willing to wait out bad weather in a hut rather than pressing on.
How We Would Decide on the Daikiretto
This is a route where we would let the conditions decide, not the calendar. The three-day plan above puts the hardest ground on Day 2, so we would use Day 1 as a test of fitness and weather and be prepared to stop there.
| Day | Main challenge | What we would do |
|---|---|---|
| Day 1, Kamikochi to Yarigatake Sanso | The long approach | Treat it as a fitness check, and read the hut’s weather update that evening |
| Day 2, the Daikiretto crossing | Chains, ladders and narrow ridge | Cross only if the morning update is good, and turn back at the first sign of fog or rain |
| Day 3, Kitahotaka Sanso to Okuhotaka and Kamikochi | A long, tiring finish | Start early and keep the pace steady |
The most useful advice in this guide is to build buffer days into the itinerary and be willing to wait out bad weather in a hut, because bailout options are limited once you are on the ridge. We would not start without a spare day, and we would check conditions each morning with the hut staff, as the guide says they provide weather updates. For the next ridge in this family, see our Okuhotaka to Nishihotaka guide, and for an easier Alps day to build experience, our Mount Norikura guide.
