
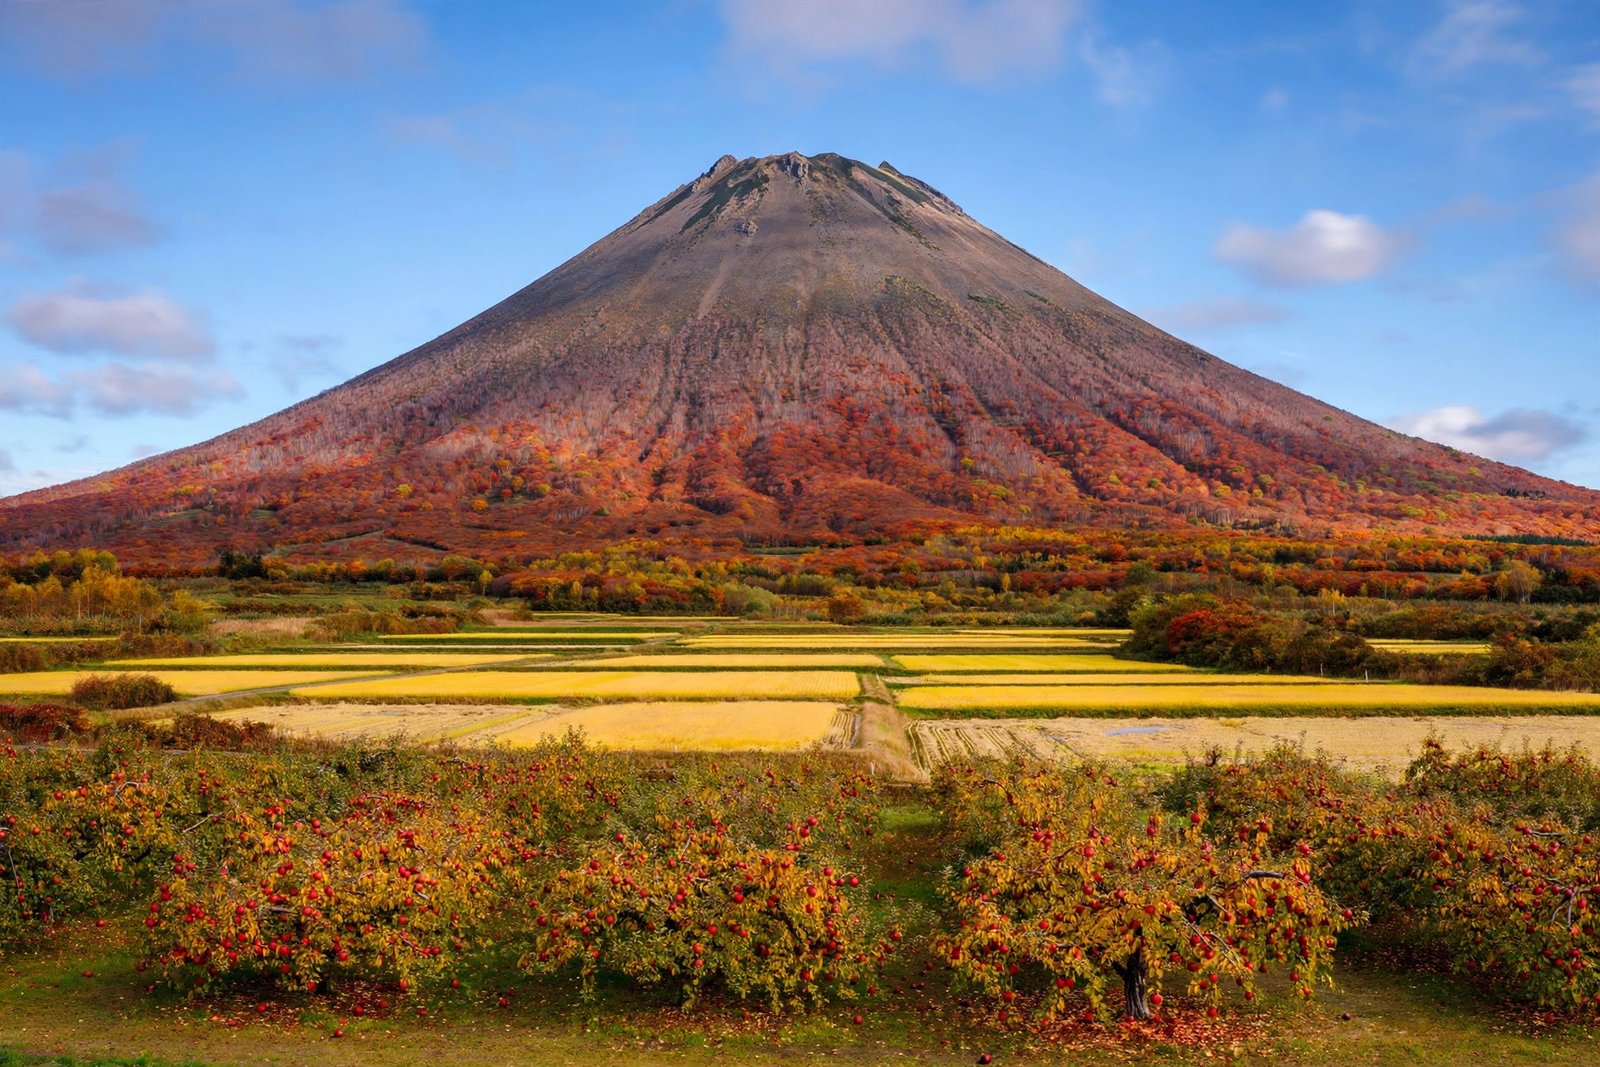
There is a particular moment on the road out of Hirosaki when the plain simply stops and the mountain takes over. No foothills crowd the view, no ridge hides the shape — just one broad, symmetrical cone rising straight out of apple orchards and rice fields. That is Mount Iwaki, and the Mount Iwaki hike is the walk that takes you from that postcard view to the windy, rocky top of it.
At 1,625 metres, Iwaki is the highest mountain in Aomori Prefecture, a sacred volcano the Tsugaru region calls Tsugaru Fuji, and one of Japan’s 100 Famous Mountains. It is also, unusually for a mountain of this size, a mountain you can climb in several very different ways: as a full-day pilgrimage walk from a historic shrine, as a stiff forest climb from a hot-spring village, or as a short, steep scramble after a drive and a chairlift. This guide covers all of them, honestly — including the parts most English guides leave out. If you are planning a Mount Iwaki hike, start here, then confirm bus, Skyline and lift times on the official sites before you go, because mountain transport in Aomori changes with the season.
“I’m an enthusiast, not an expert. I share what I learn about Japan’s outdoors through careful research, and I try to be honest about what I know and what I don’t.” — Amrita Nahar, founder of Outdoor Japan Guide
That honesty matters on Iwaki. This guide is research-based, built from official and published sources in the same way as our other mountain guides, not from a single claimed ascent. Conditions, prices and timetables shift, so treat the figures below as a planning starting point and check them locally before you set out.
🥾 Mount Iwaki Hike: Quick Summary
Everything from the guide below, condensed — plus a few things most guides skip.
📊 Hike Summary
Distance
~14.5 km round trip (full shrine route)
Elevation gain
~1,434 m (summit 1,625 m)
Time
~7–8.5 hrs full route; ~40 min from 9th station
Difficulty
Hard (full route)
🚌 Getting There
Base yourself in Hirosaki. Kōnan Bus services run from Hirosaki Station towards Iwakiyama Shrine and, in season, to the 8th station. By car, the Tsugaru Iwaki Skyline climbs 69 hairpin bends to the 8th station, where a chairlift continues to the 9th station.
- Bus times are seasonal and not frequent — check the Kōnan Bus timetable the night before and note your return bus.
- The Skyline is a toll road, generally open late April to early November, and closed in winter. Hours are typically 8:00 am to 5:00 pm.
- The 8th-to-9th-station lift typically runs 9:00 am to 4:00 pm (last return about 4:20 pm) and is closed on Wednesdays and the 2nd and 4th Tuesdays of each month.
- There is no toilet at the summit — use the facilities at the 8th station before you ride or walk up.
🧭 Choose Your Trail
Hyakuzawa Route (Shrine Route)
The historic pilgrimage route from Iwakiyama Shrine. About 5 hours up, with forest, snowfield gullies and a rocky summit approach.
Dake Onsen Route
From the hot-spring village through beech forest to a boulder scramble. About 10.6 km out-and-back, 6–6.5 hours in total.
Skyline + Lift Shortcut
Drive to the 8th station, ride the lift to the 9th station, then walk about 30–40 minutes over rocky ground to the summit.
Whichever route you pick, the final section is steep, rocky and exposed. Wear proper boots, carry gloves for the boulders, and on the narrow summit path keep to the local rule: climb on the right, descend on the left.
📅 When to Hike
🌤️ Conditions Check
🎒 What to Pack
💡 Good to Know Before You Go
Elevation
0 m
Location
Hirosaki City, Aomori Prefecture
Belongs to
Japan’s 100 Famous Mountains
Table of Contents
- Why Iwaki Belongs on Your List
- Mount Iwaki: The Essential Facts
- The Best Season for a Mount Iwaki Hike
- Step 1: Choose Your Route
- Step 2: Getting to the Trailhead
- Step 3: The Climb, Section by Section
- Step 4: The Summit and the View
- Step 5: The Descent and the Onsen Finish
- What to Pack for the Mount Iwaki Hike
- Mount Iwaki Hike Safety: Bears, Weather and Volcano Alerts
- Hidden Details Most Mount Iwaki Hike Guides Skip
- Mount Iwaki Hike: FAQs
Why Iwaki Belongs on Your List
Most travellers reach Aomori for apples, cherry blossom at Hirosaki Castle, or the Nebuta festival, and they photograph Iwaki from the plain without ever thinking of climbing it. That is a shame, because the mountain rewards the extra day in a way a viewpoint never can. From the plain it looks like a perfect Fuji copy; from the summit it reveals itself as something wilder — a volcano with three peaks, explosion craters on its flanks, and a 360-degree view that runs from the Tsugaru Plain to the Sea of Japan and, on the clearest days, across to Hokkaido.
The second reason is pedigree with a twist. Iwaki was chosen by mountaineer and writer Kyūya Fukada as one of Japan’s 100 Famous Mountains, yet it remains far less crowded than the famous peaks of Honshu’s main ranges. In August you may share the summit path with pilgrims; on a weekday in early autumn you may have long stretches of forest almost to yourself. That combination — famous, sacred, and still quietly local — is rare.
Finally, Iwaki is a complete Aomori day, not just a climb. You can start at a shrine that has watched over the Tsugaru region for more than a thousand years, walk through primeval beech forest, eat sweet Dake corn from a roadside stall in season, and finish in a milky, sulphur-scented onsen. If you want another northern volcano with a very different character, our Hakkoda Mountains guide pairs naturally with this one — ropeway, snow monsters and Sukayu Onsen instead of a solitary cone.
Mount Iwaki: The Essential Facts
First, get the mountain straight in your head. Everything below — route choice, timing, packing — follows from these numbers.
- Elevation: 1,625 metres — the highest mountain in Aomori Prefecture
- Japanese name: 岩木山, Iwaki-san, also called Ōiwaki-yama or simply Ō-yama, “the great mountain”
- Nickname: Tsugaru Fuji, and sometimes Oku Fuji, for its Fuji-like cone
- Type: active stratovolcano; last eruption in 1863, with eruptions roughly every hundred years in its longer history
- Location: Hirosaki City, western Aomori Prefecture, standing alone on the Tsugaru Plain
- Shrine: Iwakiyama Shrine at the south-eastern foot, with an inner shrine at the summit; the whole mountain is traditionally regarded as part of the shrine
- Main routes: Hyakuzawa Route from Iwakiyama Shrine, Dake Onsen Route, Yayoi Trail, and the Skyline-plus-lift shortcut from the 8th station
- No permit: no climbing permit or admission fee is required, but a climbing plan is good practice on the long routes
One detail changes how you should picture the mountain. Iwaki is often photographed as a single perfect cone, yet the summit area actually has three peaks, and the flanks carry several explosion craters. In other words, the “perfect cone” is the view from far away; up close, it is a complex, rocky volcano. That is why the last hour feels so different from the forest walk below — you are not walking up a smooth slope, you are scrambling over the mountain’s volcanic bones.
The Best Season for a Mount Iwaki Hike
Iwaki is a three-season mountain for most walkers, roughly late April to early November, with the Skyline road and lift setting the practical season. Within that window, however, the mountain changes completely — so timing is one of the most important decisions you will make.
Late April to May is for cherry blossom with a twist. Between Hyakuzawa and Dake runs a roughly 20-kilometre avenue of about 6,500 Ōyama-zakura cherry trees, described as the longest cherry blossom avenue in the world, at its best from late April to early May. Higher up, though, snow still lingers, so this is a lowland-blossom trip first and a high-mountain trip second. June to August brings the most stable walking weather, alpine flowers, and the mountain’s great pilgrimage season. In early July, pink Michinoku-kozakura, a primrose special to Iwaki, blooms beside the remaining snowfields near the summit — a small, specific delight that most general guides never mention.
Early to mid-October is the sweet spot. The beech and maple forest turns, the air goes clear, and the view from the summit sharpens. This is also when the Skyline’s 69 bends become a foliage drive in their own right, so expect weekend traffic on the road even if the trails stay calm. Winter, by contrast, is a different mountain altogether. The Skyline closes, usually from early November to April depending on snow, the ski area takes over the lower slopes, and a winter ascent becomes an expert undertaking with avalanche risk near the summit. Unless you have winter mountaineering experience and gear, treat Iwaki as closed in winter.
A practical warning for every season: Iwaki stands alone, so wind finds it. Even in August, walkers report needing a windbreaker on the exposed summit. Pack a windproof layer whatever the forecast says in Hirosaki city, because the city forecast is not the summit forecast.
Step 1: Choose Your Route
For most first-time visitors, the Mount Iwaki hike is best understood as three different mountains stacked on top of each other — and you get to choose how much of the stack you climb.
The Hyakuzawa Route, from Iwakiyama Shrine, is the classic. This is the oldest and most representative route, the pilgrimage path that links the main shrine at the foot to the inner shrine at the top. Published course times put it at about 14.5 kilometres out-and-back, about 1,434 metres of elevation gain, and roughly 7 to 8.5 hours in total. It is rated challenging: forest and stone markers below, steep and rocky ground above, and a long, steady pull that should not be underestimated. Choose this route if you want the full mountain story — shrine, forest, snowfield gullies, summit shrine — and you are fit enough for a long day.
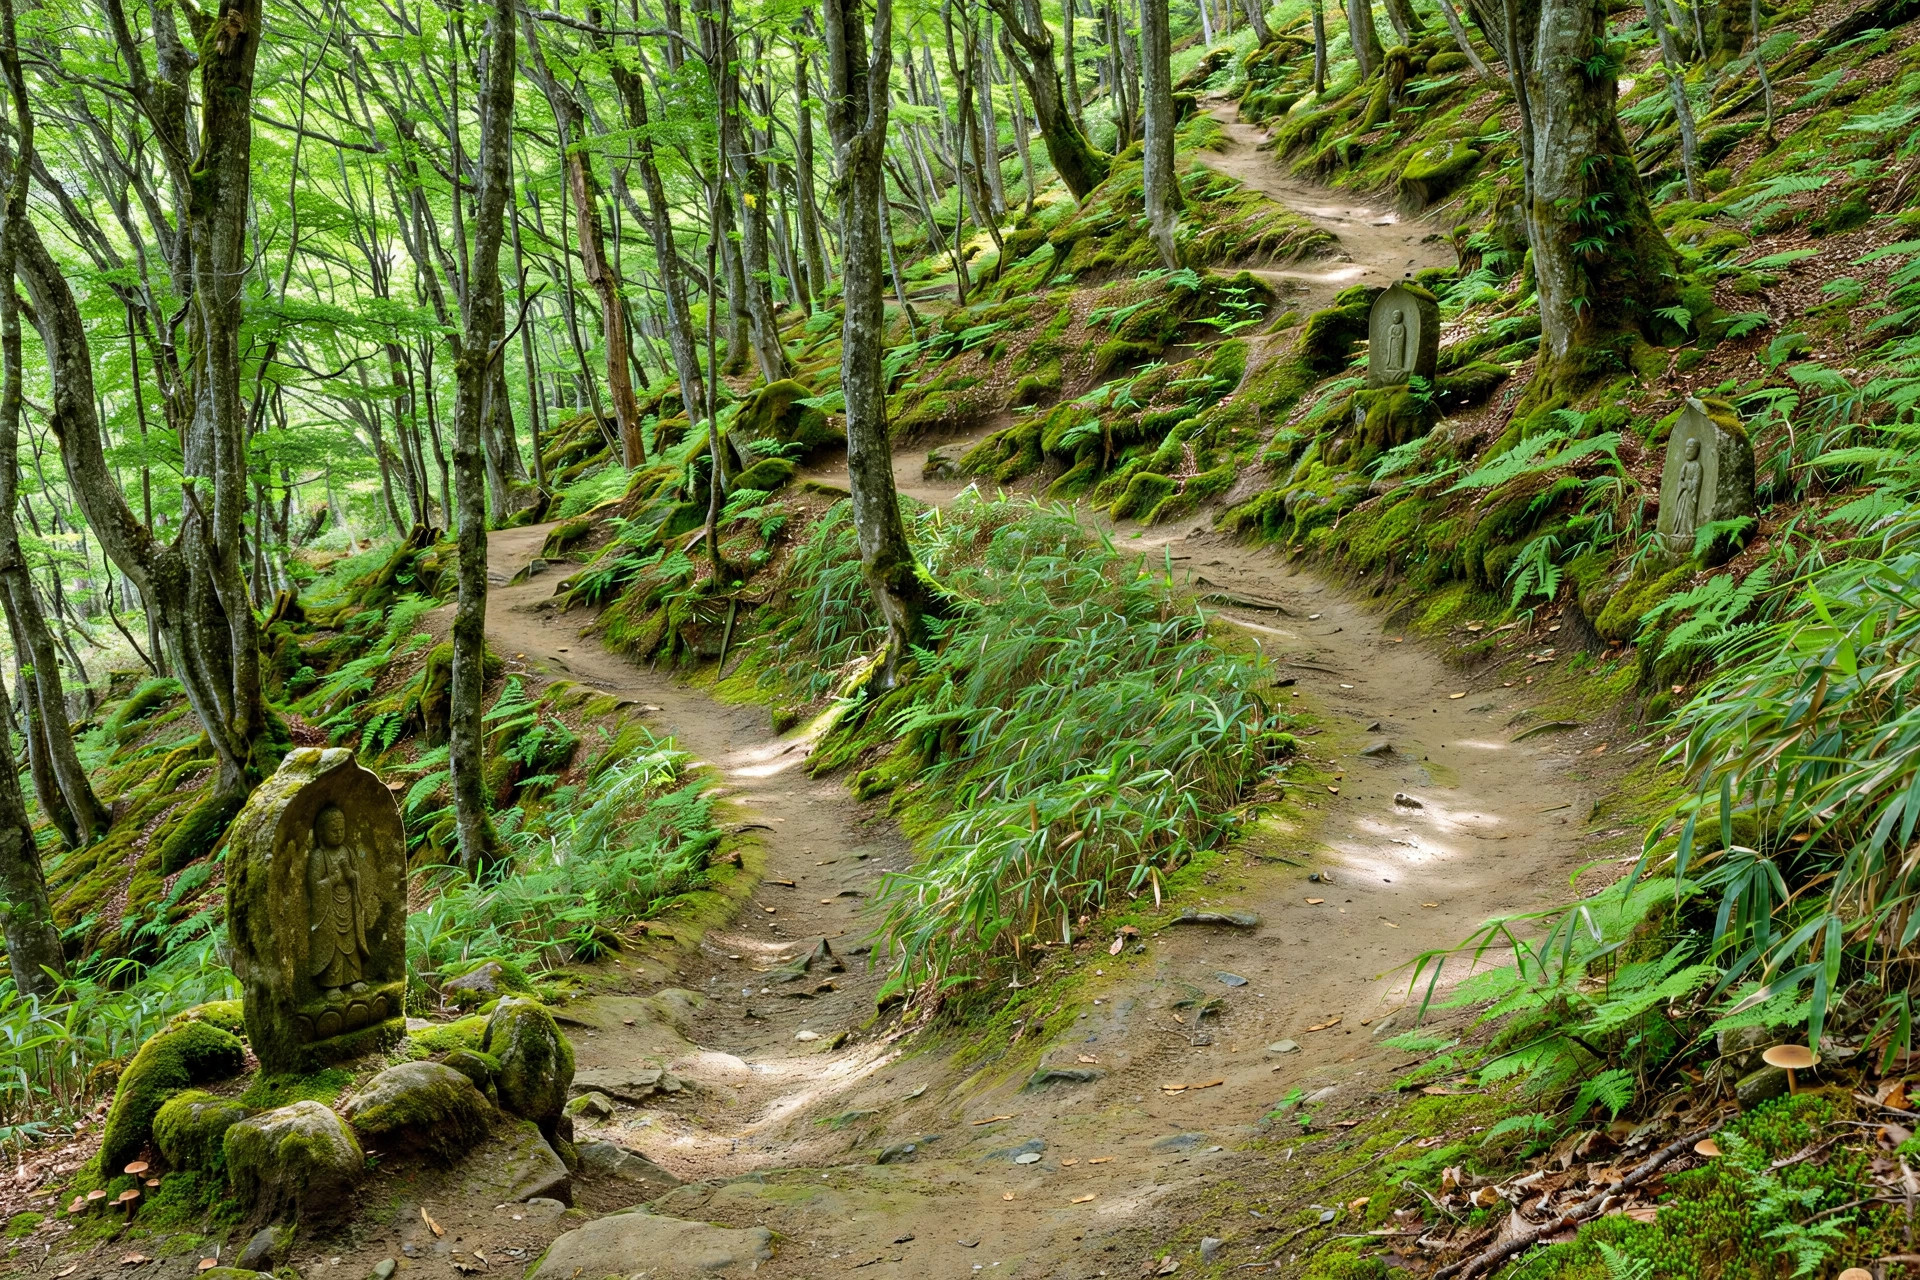
The Dake Onsen Route is the hot-spring alternative. Starting in the quiet resort village of Dake Onsen, it climbs through old-growth beech and maple forest on wide switchbacks, past stone monuments left by centuries of pilgrims, then breaks above the treeline into a steep boulder field. AllTrails lists it at about 10.6 kilometres out-and-back and 6 to 6.5 hours, with about 1,156 metres of gain. It is also a good traverse option: several walkers climb from Dake and descend the Hyakuzawa trail to Hyakuzawa Onsen, about 10.9 kilometres point-to-point. That traverse needs transport at both ends, so plan it the night before, not on the trail.
The Skyline-plus-lift shortcut is the honest easy option — and there is no shame in it. Drive or take the bus up the Tsugaru Iwaki Skyline to the 8th station at about 1,240 metres, ride the two-person chairlift for about ten minutes and 500 metres to the 9th station at about 1,470 metres, then walk about 30 to 40 minutes to the summit. The total from the 8th station is about 2.7 kilometres out-and-back and 1.5 to 2 hours. It is still steep and rocky at the end, but it opens Iwaki to walkers, families and anyone short on time. If you only have half a day, this is the route to take.
Two smaller notes help you choose. The Yayoi Trail, on another flank, is a quieter, tougher out-and-back of about 11 kilometres with few places to rest and no water along the way — a good second visit, not a first. And if you are weighing Iwaki against other long Japanese climbs, our Mount Kumotori guide shows the other end of the scale: a 24-kilometre, two-day Tokyo mountain where there is no lift shortcut at all.
Step 2: Getting to the Trailhead
Hirosaki is the base, and the journey there is part of the planning. From Tokyo, take the Tōhoku Shinkansen to Shin-Aomori, then a local train or bus to Hirosaki — allow roughly four hours in total and check connections in advance. From Hirosaki Station, Kōnan Bus services run towards Iwakiyama Shrine and, in season, up to the 8th station. The catch, as on so many Japanese mountains, is frequency: buses are not every few minutes, and missing the last bus down can turn a good day into an expensive taxi ride. Write down your return time before you start walking.
By car, the route is simpler and, frankly, more fun. From central Hirosaki, follow signs for Dake Onsen and the Skyline. The Tsugaru Iwaki Skyline itself is 9.3 kilometres long, climbs 806 metres at an average gradient of 8.66 percent, and packs in 69 hairpin turns — which is why it is sometimes listed among the world’s most dramatic mountain roads. Drive it slowly, use the pull-offs, and do not treat it as a shortcut to be rushed. A toll applies for vehicles; recent guides report around ¥1,800 for an ordinary car, but confirm the current toll on the official Iwaki Skyline site before you go, because tolls are revised.
At the 8th station you will find a car park, a rest building, toilets and a viewing deck — use all of them. In particular, use the toilet here, because there is none at the summit. The lift station is a short walk away. Listed lift fares in recent guides are about ¥1,000 return and ¥700 one-way for adults, with lower fares for students and children, bought from a vending machine. Again, treat those as a starting point and check the official site: the lift is closed on Wednesdays and on the 2nd and 4th Tuesdays of each month, and it stops in bad weather. If the lift is closed, the walk from the 8th station to the summit is still possible — about 1.5 to 2 hours — but it is a proper climb, not a stroll.
For the shrine route, the trailhead is Iwakiyama Shrine itself, on the south-eastern foot of the mountain, reached by bus from Hirosaki or by car with parking nearby. Arrive early on autumn weekends: the shrine car parks and the Skyline both fill, and an early start is the simplest way to buy yourself quiet trail time. Our Mount Ryugatake guide makes the same point for a very different mountain — in Japan, the 7 am start is often the difference between a peaceful climb and a queue.
Step 3: The Climb, Section by Section
Let us walk the shrine route the way you will actually experience it, because the published times only make sense when you know what each section feels like.
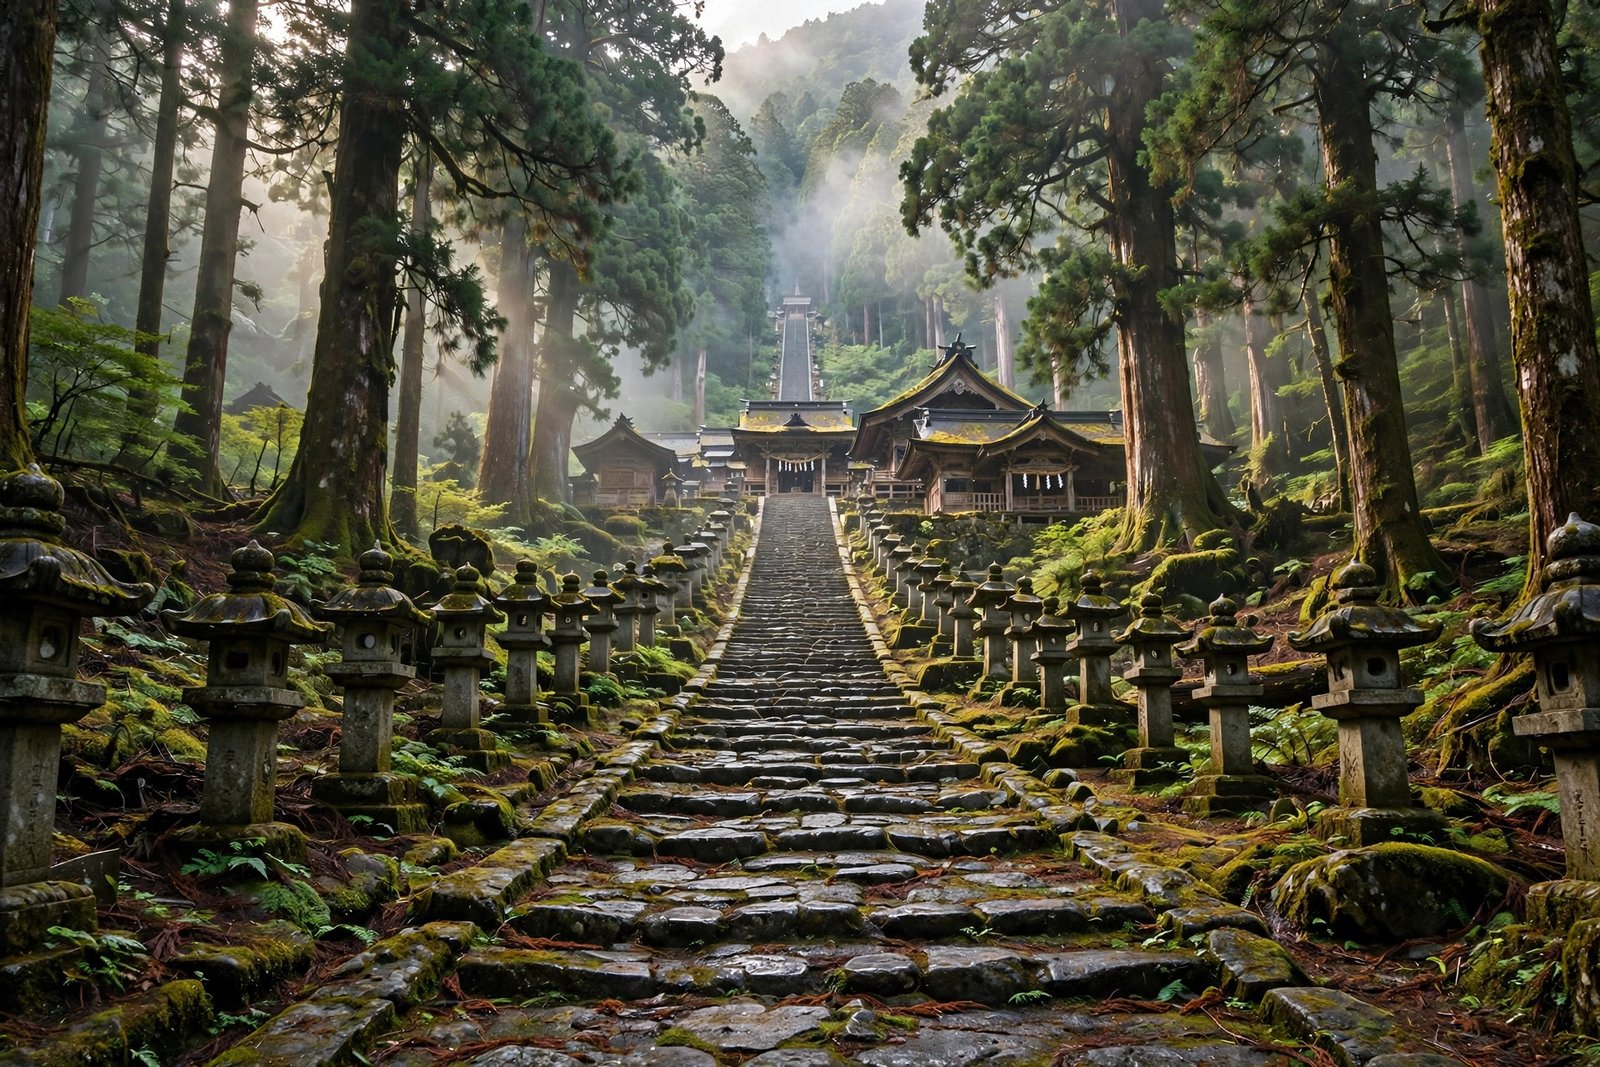
Shrine to forest (the first hour or so). The walk begins in a different register from most hikes: stone steps, cedar trees, and the sense that you are on a pilgrimage path, not just a trail. Stone monuments and distance markers, left by generations of pilgrims, punctuate the climb. The gradient is steady rather than brutal, and the forest — beech, maple, bamboo grass underfoot — does most of the work of keeping you cool. This is the section to settle into your pace. If you are breathing hard here, you are going too fast for a seven-hour day.
Forest to the refuge hut and the snowfield gullies. Higher up, the trail passes the Yakitori refuge hut at about 1,067 metres, then enters Ōsawa, a broad gully where snowfields can remain into August. The landscape opens and turns alpine: less canopy, more sky, and a sense of exposure that grows with every step. In early July this is where the pink Michinoku-kozakura blooms on both sides of the snow. Do not be tempted to shortcut across a snowfield in summer shoes — walk around it on the marked path, where the footing is known.
The spring, then the rocky crux. At about 1,350 metres, Shakujō-shimizu spring rises beside the trail. It is a welcome landmark and, on the shrine route, the water point walkers mention most — but do not plan your whole day around it. Carry water from the start, treat spring water if you use it, and remember that above here there is nothing reliable. From the spring, the summit is still several tens of minutes away, and the character changes completely: dirt gives way to loose volcanic boulders and jagged basalt, the path narrows, and you will want your hands free. This is where gloves earn their place in your pack, and where poles help on the way down even if they feel awkward on the way up.
The Dake side, in brief. If you chose Dake Onsen instead, expect the same shape in reverse order: a long, beautiful forest climb on wide switchbacks, then a sudden change above the treeline into a vast, uncompacted boulder field. The boulders are large and the footing is uneven, so take short steps, test each rock before committing your weight, and keep an eye on the markers — in mist, a boulder field can feel like a maze. On both routes, the local rule on the narrow summit path is worth repeating: climb on the right, descend on the left. It sounds small until you meet a descending group on a steep, single-file section of loose rock.
Step 4: The Summit and the View
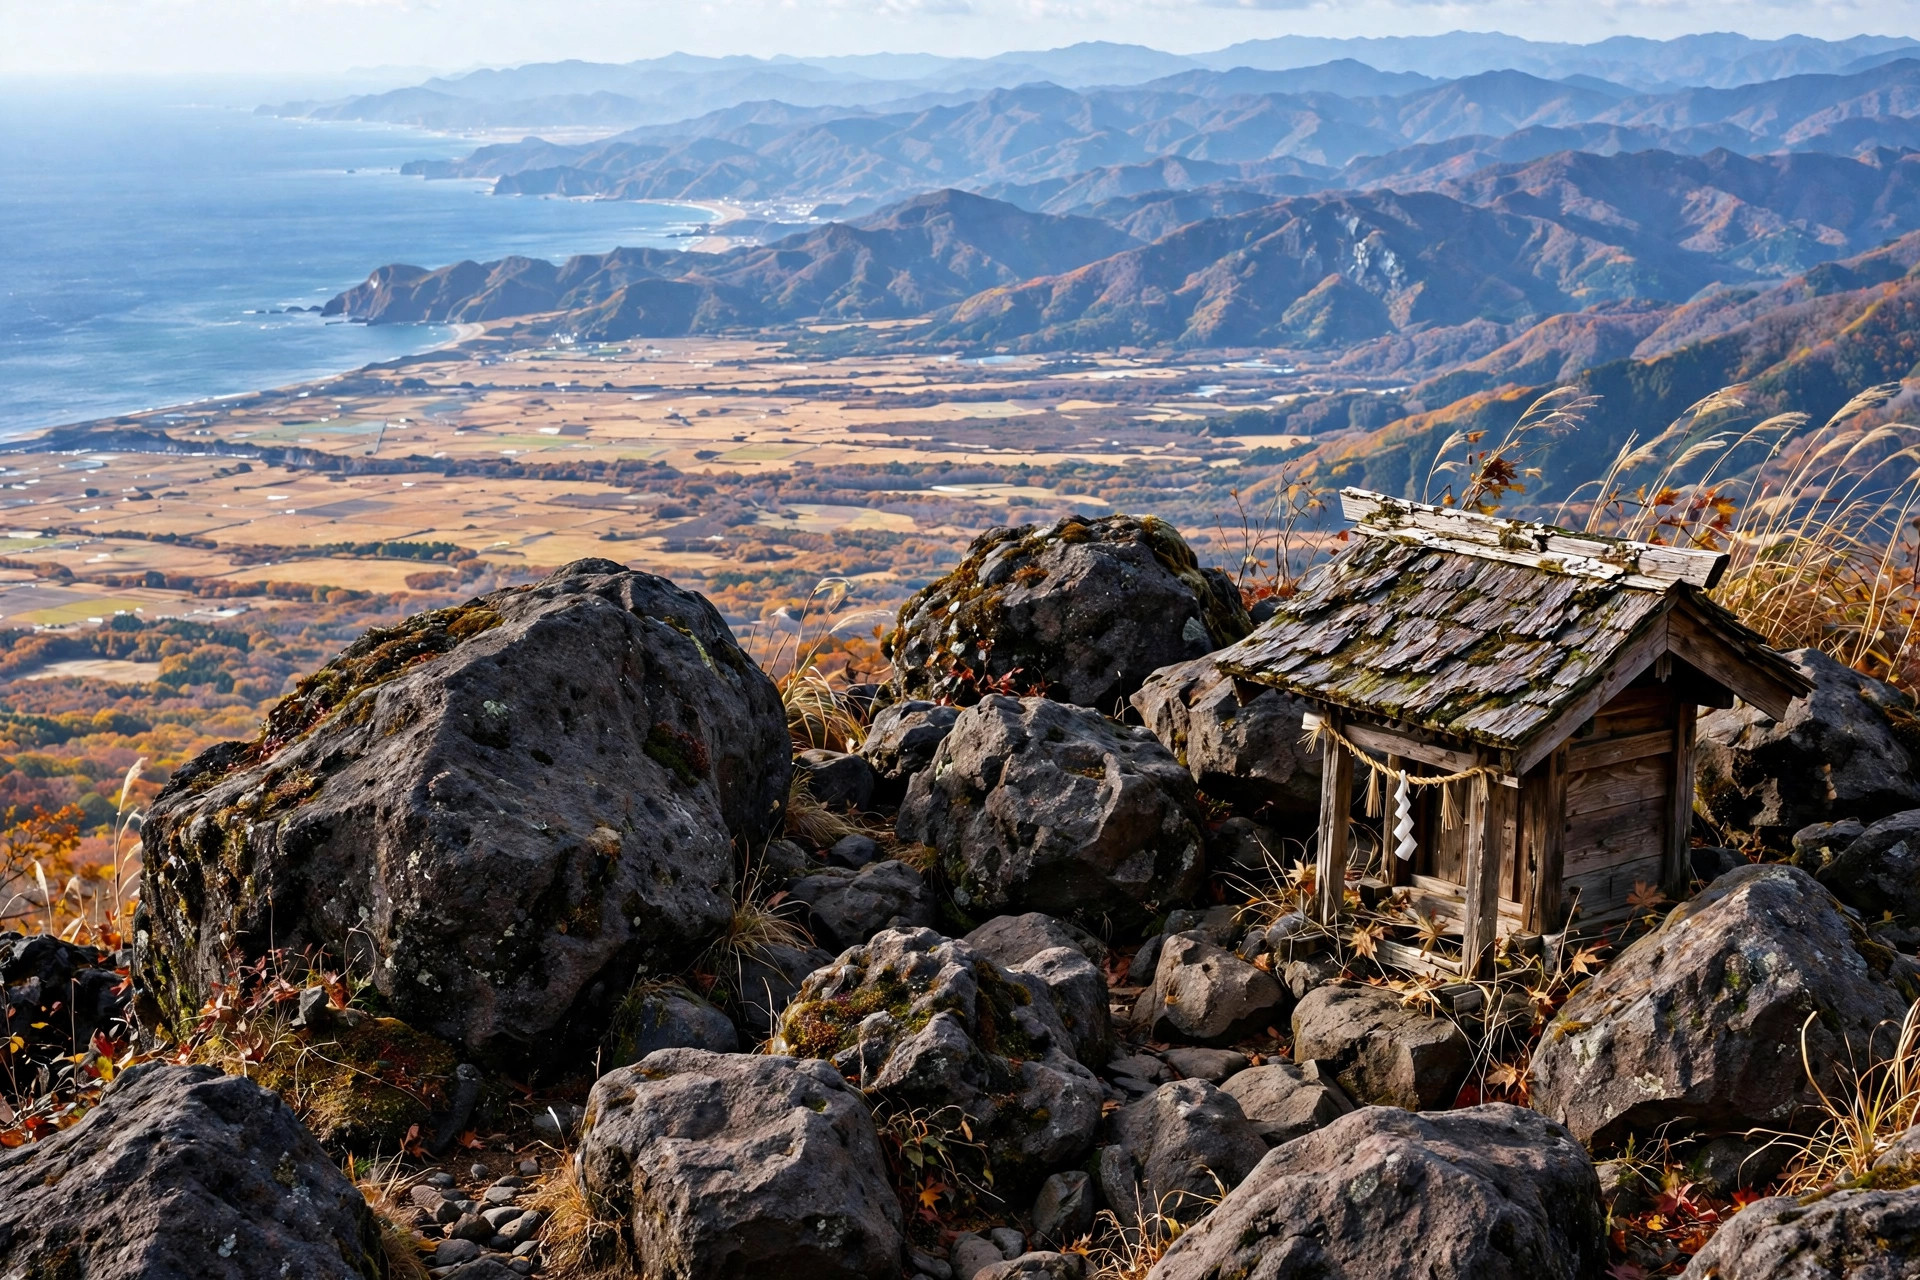
The summit itself is not a single tidy viewpoint. It is a rocky, windswept area with the inner shrine of Iwakiyama Shrine, a small lake just below the ridge on one side, and emergency shelter nearby. Take time to walk the short ridge properly rather than touching the highest marker and turning straight back — the best views are often a few minutes along the ridge, away from the first crowd.
On a clear day, the panorama is one of the finest in Tōhoku. To the east lies the Tsugaru Plain with Hirosaki and Aomori cities; to the west, the Sea of Japan and the coastline; to the south and south-west, the layered Shirakami Mountains; and to the north, on exceptionally clear days, the islands of Oshima and Koshima off Matsumae in Hokkaido. That Hokkaido sighting is a bonus, not a promise — haze, cloud and sea mist hide it more often than not — but even without it, the plain-to-sea sweep is the reason to climb rather than just drive to a viewpoint.
“If the weather is good, then you’ll have one of the best panoramic views in the Tōhoku region.” — a sentiment every Iwaki trip report seems to repeat, and on a clear autumn morning it is hard to argue with.
Two summit practicalities are easy to miss. First, there is no water at the summit — walkers staying in the summit hut are advised to descend about twenty minutes to fill bottles, so day walkers should simply carry enough from the start. Second, the summit is exposed and windy even when the forest below is calm. Put your wind layer on before you feel cold, eat something before the descent, and take your photographs with a firm grip: a gust on an exposed ridge is no place for a loose phone.
Step 5: The Descent and the Onsen Finish
Descent is where Iwaki days go wrong, so give it the same respect as the climb. On the shrine route, allow roughly three hours down; on the Dake route, a similar time. Knees will feel the boulder field first, then the long forest switchbacks. Poles help enormously here, as does a slow, deliberate pace on loose rock. If you are behind schedule, tired, or the weather is closing in, turn back at the spring or the refuge hut rather than pushing for the summit — the mountain will still be there, and the onsen below will feel even better for a safe return.
Then, the reward. Dake Onsen, near the Skyline entrance, was discovered about 350 years ago in the early Edo period — legend says woodcutters chasing a fox carrying a rice bundle found steam rising from a hole in the snowy fields. Its milky-white, sulphur-scented waters, rich in alum and sulphides, are said to soothe skin ailments, and today about six inns and hotels operate there, from rustic irori-hearth lodgings serving matagi hunter fare to modern spa hotels. Hyakuzawa Onsen, at the shrine-route end, offers the same logic on the other side: a hot bath after a long walk, without a long drive.
In season, add one more stop before you leave the mountain altogether. From mid-August to early October, stalls along the road between Hyakuzawa and Dake sell Dakekimi, a famously sweet corn with a sugar content of 18 percent or more, sweet enough to eat raw. It is a small, local detail, but it is exactly the kind of thing that turns a hike into a memory of a place. If you want another volcano-and-onsen pairing in Hokkaido, our Mount Oakan guide ends the same way, at Akankohan, after a wilder and quieter climb.
What to Pack for the Mount Iwaki Hike
Packing for the Mount Iwaki hike is straightforward once you accept that Iwaki is two climates in one day: sheltered forest below, wind and rock above.
- Footwear: sturdy hiking boots with grip, not trainers — the boulder field punishes soft soles and loose ankles
- Gloves: thick cotton work gloves or hiking gloves for the rocky summit section; they protect your hands when you need to push up over boulders
- Layers: a moisture-wicking base, a warm mid-layer, and a windproof rain shell, even in summer
- Water: at least 2 litres for the full routes, more on a hot day; there is no reliable summit water
- Food: lunch and snacks, plus a little extra in case a bus or lift delay stretches the day
- Bear bell: essential in forest sections, and a habit worth keeping on quiet trails
- Navigation: an offline map and a charged phone; reception is unreliable on some sections
- Cash: for the Skyline toll, lift tickets, buses and small onsen-side shops, some of which are cash-only
- Sun protection: hat, sunscreen and sunglasses — the upper mountain has almost no shade
- Headlamp: on the full routes, in case a long day runs into dusk, especially in autumn when it darkens early
What not to bring matters too. Leave the skirt-and-heels summit attempt — a warning that appears in Iwaki guides for a reason — and any plan that depends on buying water or food at the top. There is no summit shop to rescue a light pack.
Mount Iwaki Hike Safety: Bears, Weather and Volcano Alerts
Iwaki is accessible, but it is not a theme park, and three risks deserve a clear-headed look before you go.
Bears. Iwaki is bear country, and official trail listings flag frequent bear activity in the area. Carry a bear bell, hike in a group where possible, make noise on quiet forest sections, avoid dawn and dusk, and check local bear alerts before you set out. Never leave the trail to follow a bear sighting, and never leave food waste on the mountain.
Weather and exposure. The summit is exposed, windy, and often in cloud while Hirosaki is sunny. Start early, carry a rain shell whatever the morning looks like, and set a turnaround time before you start — for the lift shortcut, that means knowing the last lift down; for the full routes, it means knowing when you must turn back to reach transport. In mist, navigation on the upper boulder field is the crux: stay on marked ground, do not shortcut across gullies, and if visibility collapses, stop, wait, and retrace rather than guessing.
Volcano. Iwaki is an active volcano, even though its last eruption was in 1863 and activity is currently relatively quiet. That history is precisely why you should check the Japan Meteorological Agency volcanic alert level and local notices before a climb, and follow any closure without argument. A quiet volcano is not a dead one, and a guide that never mentions this is leaving out the most basic safety fact about the mountain. Winter adds a fourth risk — avalanche danger near the summit — which is why winter ascents belong to experienced, properly equipped mountaineers only.
Finally, a note on our own limits, in the spirit of the About Us page: Outdoor Japan Guide is an independent, research-based site, not a guiding company, and the author is not a certified guide. Use this guide as a starting point, cross-check it against official sources, and make your own judgement on the mountain. That is not a disclaimer for its own sake — on a mountain with bears, wind and a live volcano, it is the right way to plan.
Hidden Details Most Mount Iwaki Hike Guides Skip
One more thing the Mount Iwaki hike teaches you, if you look closely, is that the famous mountain is also a working, local mountain — and the details most guides skip are the ones that make a trip feel like Aomori rather than just a summit.
The cherry avenue is a destination in itself. Most guides mention Hirosaki Castle blossom and stop there. The 20-kilometre, 6,500-tree Ōyama-zakura avenue between Hyakuzawa and Dake, said to be the longest in the world, deserves a drive or a cycle in late April to early May even if you never climb above the forest that day.
The summit hut system is humbler than it sounds. Trip reports mention two free shelters: a spacious hut on the top with the better views, and a smaller emergency hut on the ridge. They are shelters, not hotels — no food, no water at the top, no booking system to rely on. If you plan to sleep up there, carry everything, including the water you will need, and check current hut conditions locally.
The lift has a weekly rhythm. Wednesdays and the 2nd and 4th Tuesdays are closure days that catch visitors out, because they are not weekends. Check the calendar, not just the season, before you build a day around the lift.
The pilgrimage still shapes the mountain. Oyama-sankei, the great pilgrimage of Iwakiyama Shrine, is held over three days around 1 August on the lunar calendar — usually in early September — when pilgrims climb through the night, carry colourful banners to the sound of drums and flutes, and greet the sunrise at the inner shrine. It is designated an Important Intangible Folk Cultural Property of Japan. If your visit coincides with it, expect a very different, very crowded, and very moving mountain — and plan transport and accommodation far in advance. A winter version is also held on 1 January.
The three peaks have old Buddhist identities. Before the Meiji-era separation of Buddhism and Shinto, the three main peaks were identified with Amida Nyorai, Yakushi Nyorai and Kannon Bosatsu. You do not need to know that to climb safely, but knowing it changes how the summit feels: you are standing on ground that has been mapped spiritually, not just topographically, for centuries.
Mount Iwaki Hike: FAQs
Is Iwaki suitable for beginner walkers?
Yes, via the Skyline and lift shortcut — with proper boots, gloves and a wind layer for the rocky final 30 to 40 minutes. The full shrine and Dake routes are not beginner walks: they are long, steep and rocky, and best attempted with some hiking experience and good fitness.
How long does it take to climb?
Allow 7 to 8.5 hours round trip for the full shrine route, 6 to 6.5 hours for Dake Onsen out-and-back, and 1.5 to 2 hours from the 8th station, or about 40 minutes of walking from the 9th station after the lift. Your pace, weather and photo stops will move those figures, so build in buffer time.
When is the foliage at its best?
Early to mid-October is the usual peak for autumn colour on Iwaki, with the Skyline drive and the forest below colouring together. Late September can be beautiful too, and quieter — but check Skyline closing dates, because the season ends in early November.
Do I need a permit?
No permit or admission fee is required to climb. Submitting a climbing plan at a trailhead box or online is still good practice on the long routes, and it helps rescuers if something goes wrong.
Can I combine Iwaki with Hirosaki Castle?
Easily. Hirosaki is the natural base: castle and cherry blossom in town, Iwaki as a day trip, and Dake or Hyakuzawa Onsen to finish. Give the mountain a full day of its own rather than squeezing it after a morning in town — the full routes deserve it, and the lift shortcut still deserves an unhurried afternoon.
In the end, Iwaki rewards the walker who respects both sides of it: the postcard cone from the plain, and the rocky, windy, sacred volcano up close. Choose your route honestly, start early, carry water and gloves, check the lift and the volcano notice, and finish in the onsen. Do that, and the mountain that dominates every view in Tsugaru will feel less like a backdrop — and more like a place you have actually stood on.
