
There is a particular thrill in standing on the highest ground in Tokyo. Not a skyscraper observatory, but real ground — rock, moss, and wind — with the whole Kanto plain falling away below you. That is exactly what the Mount Kumotori hike delivers. At 2,017 metres, Kumotori is the tallest peak in the Tokyo metropolitan area, a triple-prefecture border mountain, and one of Japan’s 100 Famous Mountains. Its name means “cloud grabber,” and on a clear morning, you will understand why.
This guide walks you through everything: the two classic trailheads, the huts, the seasons, the honest difficulty, and the small details most English guides skip. A quick note on how we work — Outdoor Japan Guide is an independent, research-based site. We cross-check official park, transport, and hut sources before publishing, but mountain conditions change fast. Treat this as your starting point, then confirm timetables and hut availability on the official sites before you go.
If you are short on time, the Quick Summary below condenses the whole hike into one card. If you have ten minutes, read the full guide — the mountain rewards the prepared.
🥾 Mount Kumotori Hike: Quick Summary
Everything from the guide below, condensed — plus a few things most guides skip.
📊 Hike Summary
Distance
~24 km round trip (Kosode out-and-back)
Elevation gain
~1,800 m (summit 2,017 m)
Time
~10–12 hrs on foot, or 2 days with a hut night
Difficulty
Hard🚌 Getting There
Take the JR Chuo/Ome Line from Shinjuku to Okutama Station (about 2 hours), then the Nishi-Tokyo Bus to Kamosawa or Tozura (about 30–40 minutes). On the Saitama side, take the Seibu Line from Ikebukuro to Seibu-Chichibu, then a bus to Mitsumine Shrine — note the Mitsumine Ropeway has closed, so plan around the bus.
- Buses to Kamosawa run on a limited schedule, especially on weekdays — check the Nishi-Tokyo Bus timetable before you go.
- For a day hike, catch the earliest bus you can. Missing the morning bus can cost you the summit.
- From the Kamosawa bus stop it is still about 30 minutes on foot (partly paved road) to the Kosode trailhead.
- Drivers can park at either trailhead, but spaces fill early on autumn weekends.
🧭 Choose Your Trail
Kamosawa Course (Tokyo side)
The classic: via Nanatsuishi-goya and Mt. Nanatsuishi (1,757 m) to the summit. About 5.5 hrs up, 24 km round trip.
Mitsumine Shrine Course (Saitama)
A beautiful ridge walk via Kirimogamine and Mt. Shiraiwa (1,921 m). No water sources — carry at least 2 litres.
Mitsumine → Okutama Traverse
The two-day classic: start at the shrine, sleep at Kumotori-sanso, descend to Okutama. Direction matters — this way is far easier.
Whichever side you start from, the distances are honest — there is no short way up Kumotori. The traverse (Mitsumine to Okutama) spreads the effort over two days and is the most popular way to do it. Solo day-hikers should be comfortable with 10+ hour days and carry a headlamp; in late autumn it is dark by 4 pm.
📅 When to Hike
🌤️ Weather Check
🎒 What to Pack
💡 Good to Know Before You Go
Elevation
0 m
Location
Okutama, Tokyo — on the Tokyo / Saitama / Yamanashi border
Belongs to
Chichibu-Tama-Kai National ParkOne of Japan’s 100 Famous Mountains
Table of Contents
- Why the Mount Kumotori Hike Belongs on Your List
- Mount Kumotori: The Essential Facts
- The Best Season for a Mount Kumotori Hike
- Step 1: Choose Your Route (Mitsumine vs Kamosawa)
- Step 2: Getting to the Trailhead
- Step 3: The Climb, Section by Section
- Step 4: The Summit and the View
- Step 5: Sleeping on the Mountain (Huts and Camping)
- Step 6: The Descent and the Onsen Finish
- What to Pack for the Mount Kumotori Hike
- Mount Kumotori Hike Safety: Bears, Weather and Long Days
- Hidden Details Most Mount Kumotori Hike Guides Skip
- Mount Kumotori Hike: FAQs
Why the Mount Kumotori Hike Belongs on Your List
Most visitors to Tokyo never realise the city has a 2,000-metre mountain at all. Yet less than three hours from Shinjuku, the skyscrapers give way to primeval beech forest, mossy ridgelines, and a summit that sits exactly on the border of three prefectures. That contrast — megacity one moment, deep mountain silence the next — is the first reason this hike is special.
The second reason is pedigree. Kumotori is one of Japan's 100 Famous Mountains, the list compiled by mountaineer Kyūya Fukada that still shapes hiking culture here. It is also, quite simply, the highest point in Tokyo. Standing on the summit marker at 2,017 metres, you can say you have stood on the roof of the world's largest metropolitan area — and watched Mount Fuji float above the clouds to the west.
Finally, this is a journey, not just a climb. The classic route begins at Mitsumine Shrine, one of Japan's most atmospheric mountain shrines, and follows a historic ridgeline all the way to the top. If you are choosing between Tokyo's many day hikes and want something with real mountain character, our Mount Takao day hike guide covers the easy end of the spectrum — Kumotori is the serious, satisfying other end.
Mount Kumotori: The Essential Facts
First, here is the mountain in numbers. Getting these straight now will make every decision below easier.
- Elevation: 2,017 metres — the highest peak in Tokyo
- Location: on the border of Tokyo, Saitama, and Yamanashi prefectures
- Park: Chichibu-Tama-Kai National Park
- Fame: one of Japan's 100 Famous Mountains (日本百名山)
- Name: 雲取山, Kumotori-yama — "the mountain that grabs the clouds"
- Main trailheads: Kamosawa/Kosode (Okutama, Tokyo side) and Mitsumine Shrine (Chichibu, Saitama side)
- Standard effort: roughly 24 km and 1,800 m of elevation gain for the classic out-and-back — most hikers take two days
According to Tokyo's official travel guide, the hike is rated moderate to difficult, and guides recommend setting aside two days. That matches our assessment: the trail itself is well-marked and non-technical, but the sheer distance and elevation gain make this a genuinely demanding mountain. Do not let the "it's in Tokyo" framing fool you.
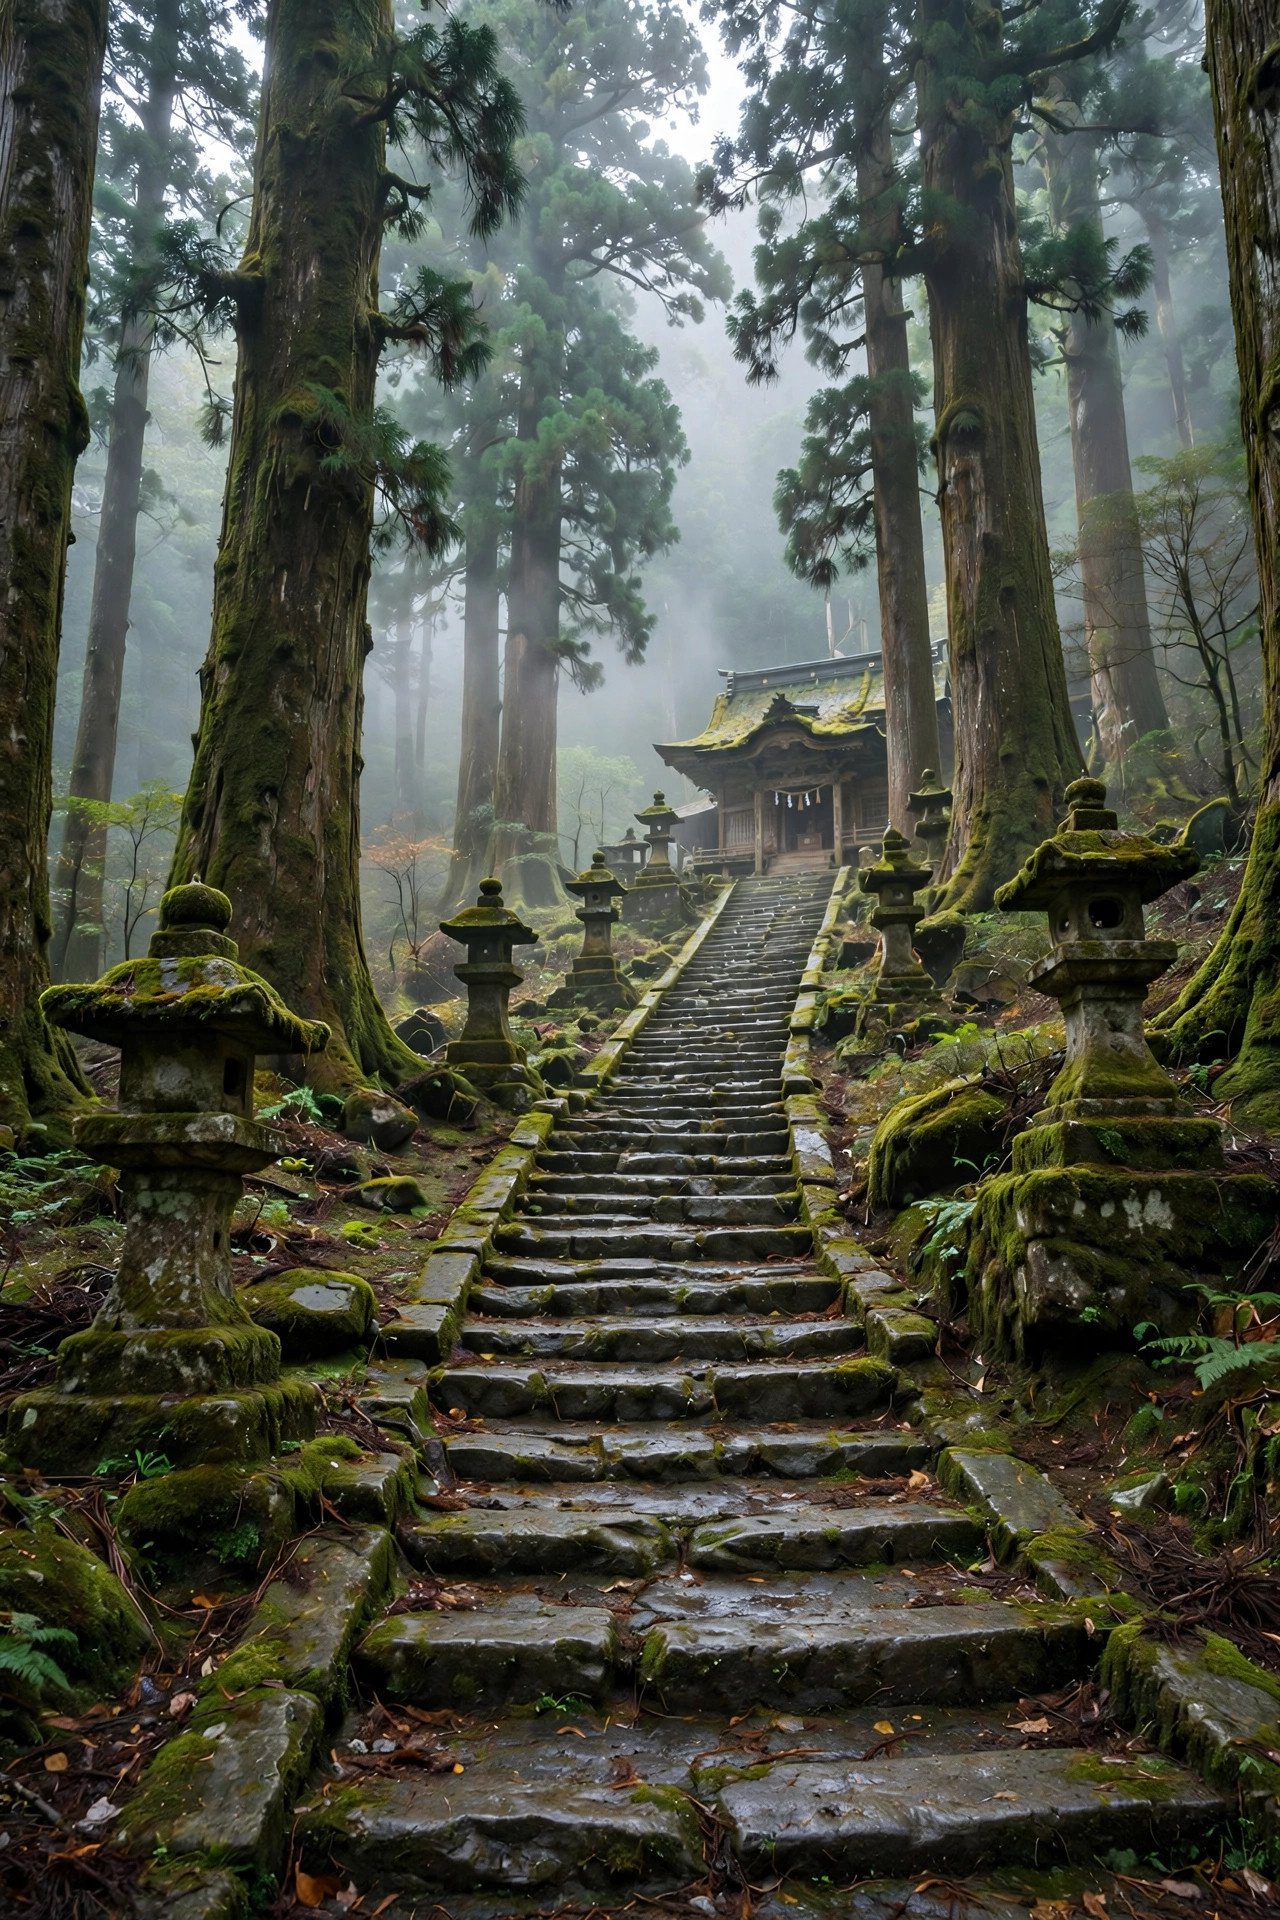
The Best Season for a Mount Kumotori Hike
Kumotori is a three-season mountain for most hikers: May through November. Within that window, however, the mountain changes character completely — so timing your hike is one of the most important decisions you will make.
Late May to June brings fresh green beech forest and wildflowers, including azaleas and rhododendron along the ridge. Trails can still hold snow in shaded spots into April, so check conditions if you go early. July and August are warm and lush, but this is also typhoon season with sudden afternoon storms — start at dawn and be off exposed ridges by early afternoon.
October to November is the sweet spot. The Japanese larch on the upper ridgeline turns gold, the air goes crystal clear, and your odds of seeing Mount Fuji from the summit are at their yearly best. This is also when the mountain is busiest — autumn weekends can fill the huts, so book early. One practical warning for late autumn: the sun sets around 4 pm, and temperatures drop fast after dark. Plan your turnaround times accordingly.
December to April is winter. Snow and ice are normal — a metre of snow on the summit is unremarkable — and the steep section at Imonoki Dokke on the Mitsumine side specifically calls for crampons from November through April. Unless you have winter mountaineering experience and gear, treat Kumotori as closed in winter.
Step 1: Choose Your Route (Mitsumine vs Kamosawa)
In short, there are two main ways up Kumotori, plus the classic traverse that links them. Choosing between them shapes your whole trip — transport, timing, water planning, and difficulty.
The Kamosawa Course (Tokyo/Okutama side) is the most popular option and the one with the best public-transport access. From the Kamosawa bus stop you walk about 30 minutes to the Kosode trailhead, then climb through beautiful broadleaf forest past Nanatsuishi-goya to Mt. Nanatsuishi (1,757 m) — a worthy detour with superb views — and on along the ridge to the summit. The Yamakei hiking course database puts Kamosawa to summit at about 5.5 hours one way, with roughly 1,470 m of elevation gain over the full two-day course. As an out-and-back day hike, expect around 24 km and 10–12 hours on your feet.
By contrast, the Mitsumine Shrine Course (Saitama side) is the more romantic choice. You start at a 2,000-year-old shrine wrapped in ancient cedar forest, then walk a long, airy ridge via Kirimogamine, Mt. Maeshiraiwa, the old Shiraiwa-goya shelter, and Mt. Shiraiwa (1,921 m) before reaching Kumotori-sanso and the summit. Here is the critical detail most English guides bury: there is no water source between Mitsumine Shrine and the hut. Carry at least two litres from the trailhead — this single fact ruins more hikes than any other on this route.
Finally, the Mitsumine → Okutama traverse is the classic two-day itinerary: up from the shrine on day one, overnight at Kumotori-sanso, descend the Kamosawa side to Okutama on day two. Here is something almost no English guide mentions — direction matters enormously. Done Mitsumine-to-Okutama, the elevation change is only around 500 m and the route is rated 2 out of 5 for difficulty. Done in reverse, you face a brutal 1,400 m vertical climb and it becomes a 4 out of 5. If you only remember one planning tip from this guide, remember this one.
For example, ambitious hikers can extend west along the Oku-Chichibu ridgeline to Mt. Hiryu (2,077 m) — actually higher than Kumotori, and far quieter. Our Oku-Chichibu traverse guide covers that wilder country if the idea appeals to you.
Step 2: Getting to the Trailhead
However, for a mountain this wild, Kumotori is remarkably reachable from central Tokyo — but the last bus connection is where trips succeed or fail. Plan it the night before.
To Kamosawa (Tokyo side): take the JR Chuo Line from Shinjuku, changing to the Ome Line, all the way to Okutama Station — about two hours. From outside Okutama Station, board the Nishi-Tokyo Bus bound for Kamosawa (some services continue to Tozura). The ride takes 30–40 minutes. The catch: buses run on a limited schedule, especially on weekdays. For a day hike, you want the earliest bus of the day — check the current timetable on the Nishi-Tokyo Bus website before you commit. From the Kamosawa stop, it is roughly 30 minutes on foot (partly paved road, partly trail) to the Kosode trailhead proper.
On the other hand, to Mitsumine Shrine (Saitama side): take the Seibu Line from Ikebukuro to Seibu-Chichibu Station, then a Seibu Kanko Bus to Mitsumine Shrine (the terminus). The bus ride is long — around 75 minutes — through lovely mountain scenery. One important update: the Mitsumine Ropeway has ceased operation, so do not plan around it; the bus to the shrine is the way in.
In addition, by car: both trailheads have parking, but spaces fill early on autumn weekends — arrive before 7 am in peak foliage season or expect to wait. No permit is required to climb Kumotori, but submitting a climbing plan (tozan todoke) at the trailhead box or online is strongly recommended. Our guide on whether you need a permit to hike in Japan explains the system in detail.
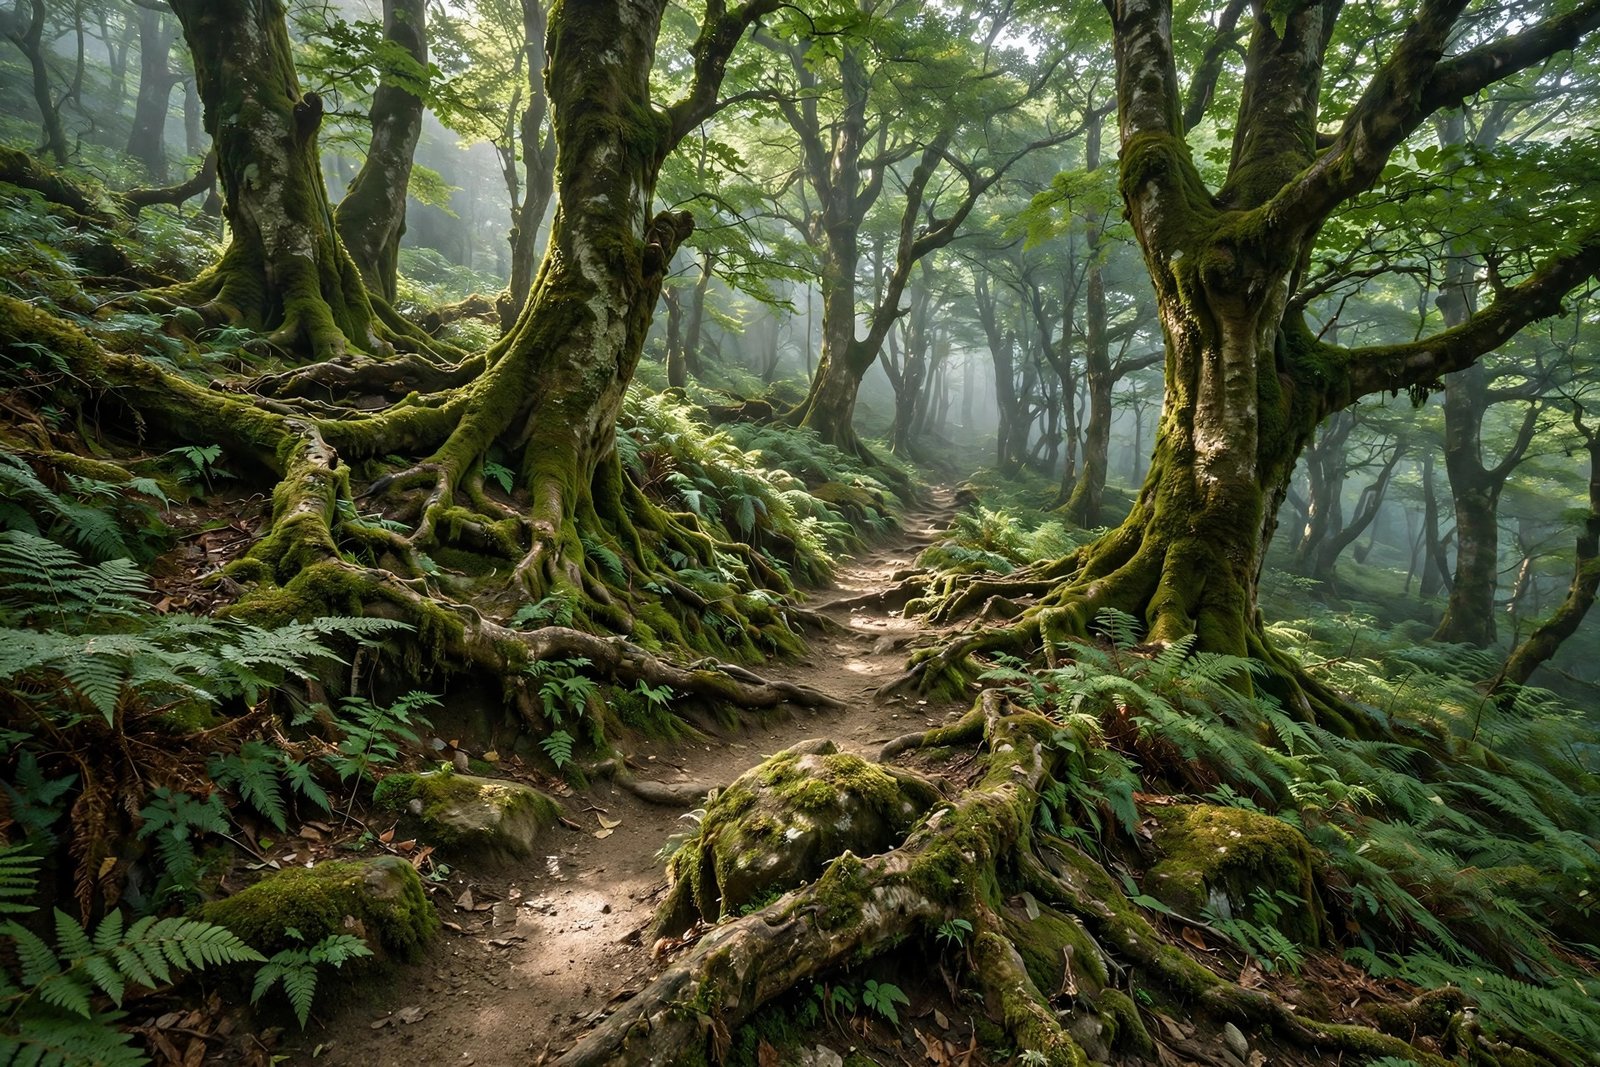
Step 3: The Climb, Section by Section
Let us walk the Kamosawa route — the hike most readers will attempt — the way you will actually experience it. The following is based on published course times from Japanese hiking sources; your pace will vary, so treat these as planning anchors, not promises.
Kamosawa bus stop → Kosode trailhead (about 30 minutes). The day starts gently: a paved road that turns to forest track, climbing past cedar plantations. Do not be lulled — this is the warm-up. Fill your bottles here; reliable water gets scarce higher up.
Kosode → Nanatsuishi-goya (about 3.5 hours). Next, the real trail begins, winding up through magnificent broadleaf forest — beech, oak, and maple that glow in autumn. Watch for the old signboards recounting the legend of Taira no Masakado's retreat through these mountains; they are a charming, half-forgotten detail most hikers walk straight past. Nanatsuishi-goya makes a natural rest stop with drinks and a small rest area.
Nanatsuishi-goya → Mt. Nanatsuishi → Bunazaka col (about 1 hour). Do not skip the 30-minute detour up Mt. Nanatsuishi (1,757 m). The summit is open and airy with a superb panorama — many hikers call it the best viewpoint of the whole route. Drop back down to the col at Bunazaka and continue along the broad ridgeline.
Bunazaka → Kumotori-sanso junction (about 1.5 hours). After that, the trail rolls through Japanese larch and mixed forest, passing a heliport and the now-closed Okutama-goya, then climbs moderately past Yomogino-atama and under Mt. Kokumotori. The forest gradually thins, the views open, and suddenly you are on the high ridge with the summit in sight.
Junction → summit (about 30–40 minutes). Finally, a broad, gentle ridgeline leads past the small summit emergency shelter to the top. Total: roughly 5.5–6 hours from Kamosawa to the summit for a steady hiker.
On the Mitsumine side, the rhythm is different: Kirimogamine's little hut is the classic lunch stop, the climb over Mt. Shiraiwa is the route's steepest test, and the Imonoki Dokke dip between Shiraiwa and the hut is the one place to be genuinely careful in snow season. The detailed Yamakei course description (in English) is worth reading alongside this guide for its elevation profile.
Step 4: The Summit and the View
At 2,017 metres, the summit of Kumotori is a modest, rocky top marked with the usual summit sign — but what surrounds it is anything but modest. On a clear day, Mount Fuji rises above the western ridges in that perfect, almost unreal symmetry, while the Okutama mountains roll away in blue layers to the east. Turn around at dusk and you can even pick out the glitter of central Tokyo far below — the world's biggest city, seen from its own rooftop.
In addition, a few minutes beyond the summit sits the small emergency shelter (hinan-goya): free, basic, and maintained for exactly the situation its name suggests. Do not plan to sleep there unless you must — it has no heating, no food, and no water. It is a refuge, not accommodation. The real reward for staying overnight is the sunrise: Kumotori's east-facing aspect serves up superb dawns, and the view of Fuji catching first light is the photograph every hiker here is chasing.
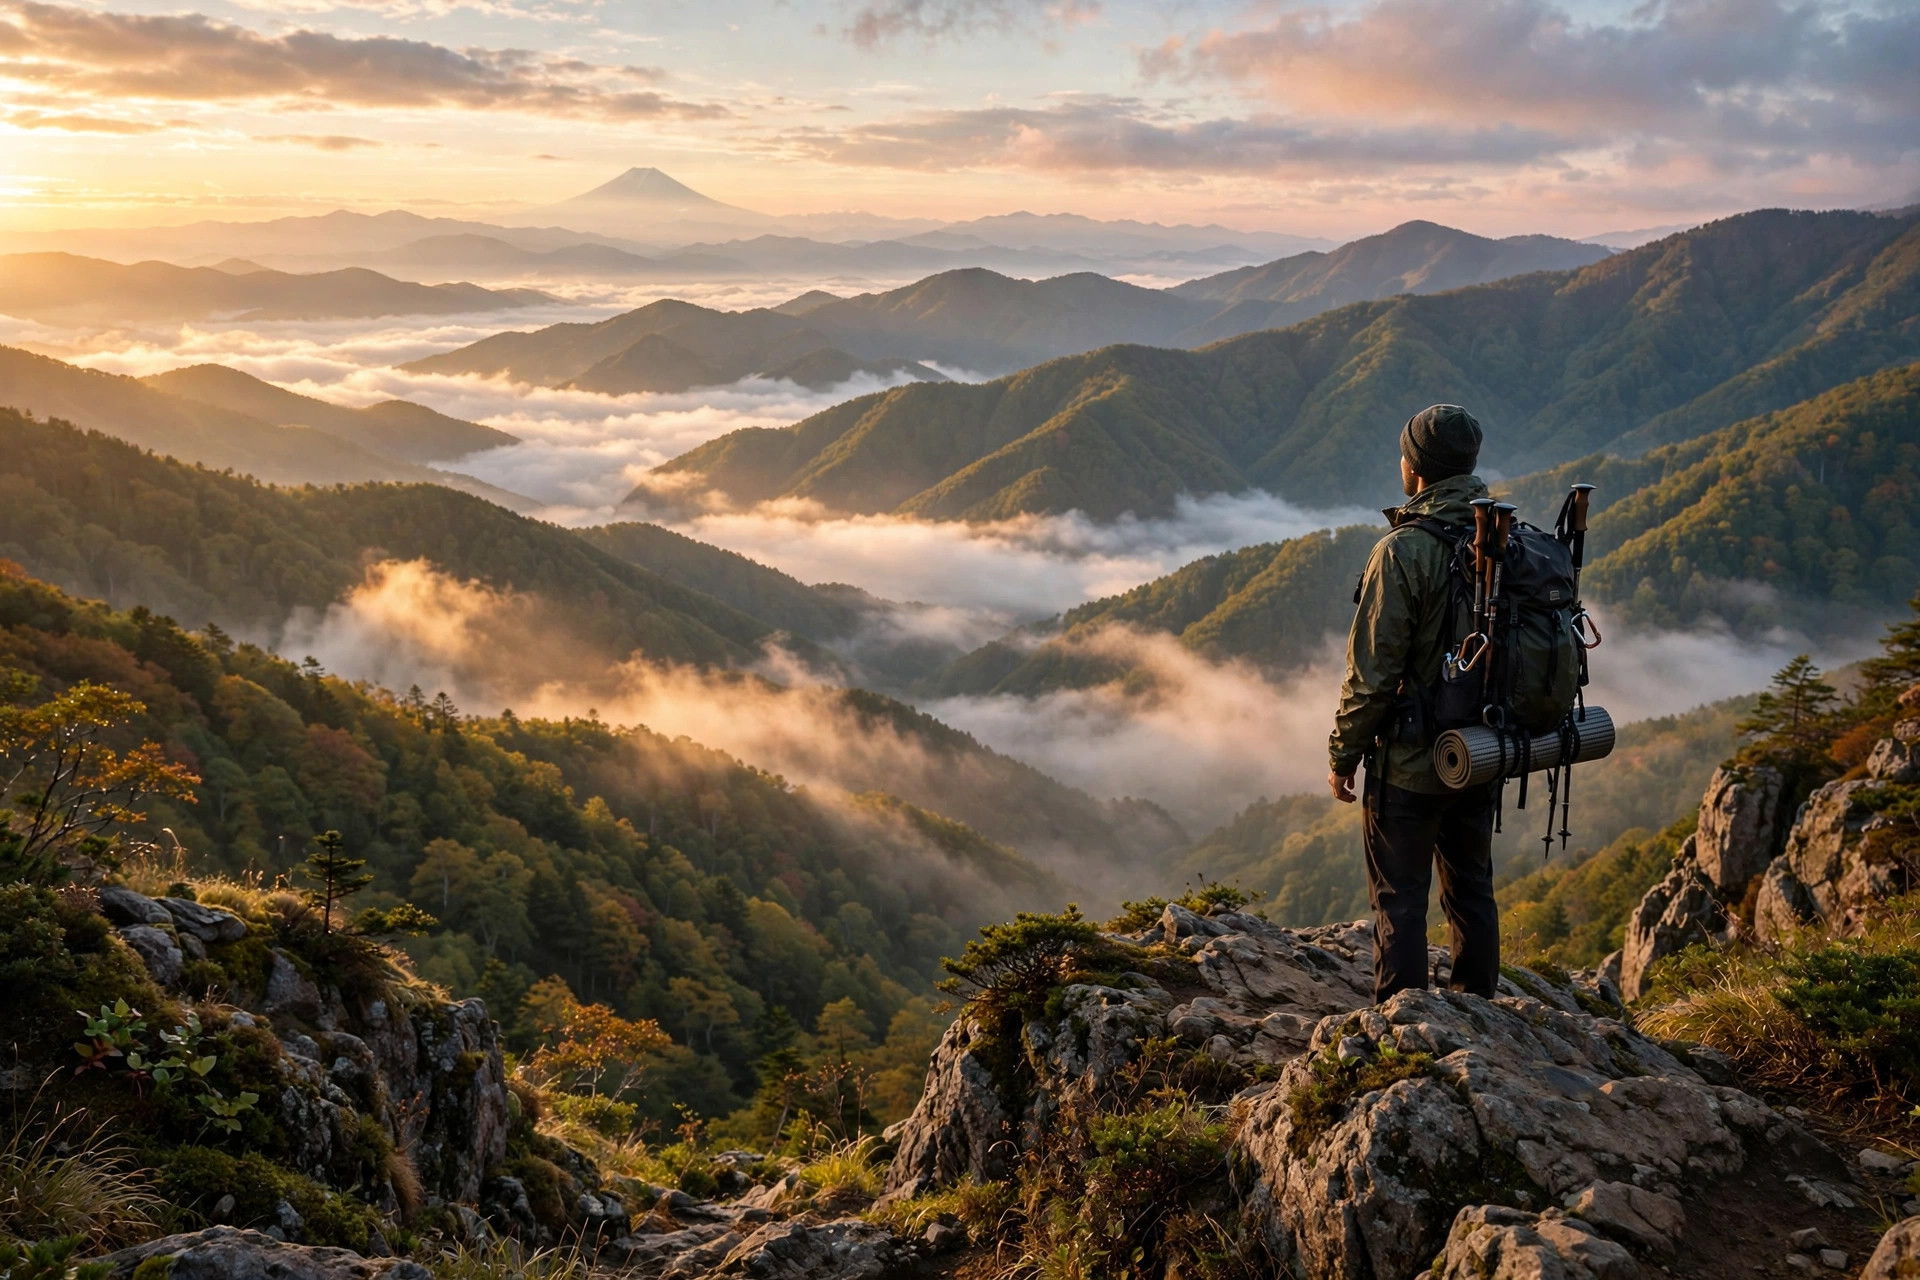
Step 5: Sleeping on the Mountain (Huts and Camping)
Indeed, the two-day hike only works because the huts work. Here is the honest breakdown of each option, so you can book the right one.
Kumotori-sanso (雲取山荘) is the big one — an unusually large, professionally run lodge just below the summit that sleeps around 200 people across two floors. Expect tatami rooms (shared, usually 4–5 people), hearty mountain meals, and — delightfully — kotatsu heated tables in the tatami rooms during the cold months. Published rates are roughly ¥9,500 with dinner and breakfast, or about ¥6,800 without meals; there is also a 30-site tent area for around ¥1,500. Prices and seasons change, so confirm on the hut's official site when you book — and do book ahead, because autumn weekends sell out.
Meanwhile, Nanatsuishi-goya (七ツ石小屋) sits midway up the Kamosawa route and suits hikers who want to split the climb. It requires a reservation and is self-catering — bring all your own food. There is also tent space here, which makes it a popular choice for first-time tent hikers easing into an overnight.
In contrast, Shiraiwa-goya (白岩小屋) on the Mitsumine side is a far more rustic affair — an old, weather-beaten shelter that works as an emergency backup or a late-start bailout rather than a destination. And then there is Sanjo-no-yu (三条の湯), a hut with its own hot spring on the alternative descent route — more on that below.
The unwritten rule of Kumotori's huts: the mountain is kind to planners and strict with improvisers. A reserved futon, a booked tent site, and dinner you didn't have to carry taste better at 2,000 metres than any restaurant meal in the city.

Step 6: The Descent and the Onsen Finish
You have three ways down, and the choice is half the fun. The simplest is to retrace your steps — familiar ground, easy navigation, and your knees will thank you for the poles. From the summit you can also descend via Mt. Nanatsuishi, taking the left fork at the emergency hut for a slightly different ridge back toward Kamosawa.
The connoisseur's option is the Sanjo-no-yu descent: drop from the summit toward the hot-spring hut of Sanjo-no-yu, soak your legs in a real mountain onsen, then follow the forest road for about 2.5 hours down to Route 411. It is longer, but finishing a 2,000-metre hike in steaming mineral water is the kind of memory that keeps people hiking for life.
Finally, whichever way you come down on the Okutama side, finish the day properly at Moeginoyu (もえぎの湯), Okutama's excellent day-use hot spring near the station. Twelve hours of mountain deserve at least one hour of hot water. Your legs will file no complaints.
What to Pack for the Mount Kumotori Hike
Packing for Kumotori is packing for a long, self-sufficient day in real mountains — not a city park with a cable car. Here is the non-negotiable core:
- Sturdy, broken-in boots — 24 km on mixed trail punishes new footwear
- Layered clothing plus a rain shell — the summit can be 10°C colder than the trailhead
- Headlamp (plus spare batteries) — non-negotiable for a 10–12 hour day; in November it is dark by 4 pm
- At least 2 litres of water — there is no water between Mitsumine and the hut, and little on the ridge generally
- Lunch and calorie-dense snacks — you will burn through 3,000+ calories
- Bear bell — this is Asian black bear country
- Cash — huts, buses, and onsen are often cash-only
- Offline map or GPS app — phone signal is patchy on the ridge
- Crampons — November through April on shaded and high sections
If you are staying overnight, add a sleeping-bag liner or travel sheet (many huts now request them), earplugs for shared tatami rooms, and a small towel. For a deeper packing breakdown, our Mount Fuji gear guide covers the same layering logic in detail — the principles transfer directly.
Mount Kumotori Hike Safety: Bears, Weather and Long Days
Overall, Kumotori is not a technical climb, but it commands respect. Three risks dominate, and all three are manageable with preparation.
Bears. Asian black bears (tsukinowaguma) live throughout the Chichibu-Tama-Kai mountains, and Kumotori's quiet forests are prime habitat. The protocol is simple: wear a bear bell, make noise on blind corners and in dense forest, hike in a group when you can, and avoid dawn and dusk solo hiking. You may also meet Japanese serow and macaque troops — enjoy them from a distance and never feed wildlife.
Weather. The second risk is the sky itself: the ridge above 1,800 m is fully exposed, and conditions can flip from bluebird to whiteout in an hour. Check a mountain-specific forecast (Tenkura is the Japanese standard) the morning of your hike, and set a turnaround time before you start — then honour it. Afternoon thunderstorms are the summer hazard; ice and deep snow the winter one.
The long day. The third risk is the one most people underestimate on a Mount Kumotori hike. Ten to twelve hours on foot, after a two-hour train and a bus, is an endurance event. Start on the first bus, eat before you are hungry, drink before you are thirsty, and carry the headlamp even if you are "sure" you will finish in daylight. Tell someone your route and expected return — or better, file that tozan todoke climbing plan. The mountain will still be there next weekend; make sure you are too.
Hidden Details Most Mount Kumotori Hike Guides Skip
Every mountain has a layer beneath the route description. Here are the Kumotori details you will not find in most English guides:
It is an anime pilgrimage site. Kumotori is widely cited as the home mountain of Tanjiro and Nezuko Kamado, the protagonists of Demon Slayer (Kimetsu no Yaiba) — one of the biggest anime phenomena in history. On weekends you will spot fans making the climb as a seichi junrei (sacred-site pilgrimage). Whether you care about anime or not, it explains some of the crowds — and gives you a great conversation starter at the hut.
Indeed, direction is everything. As noted above, the Mitsumine→Okutama traverse is rated 2/5 while the reverse is 4/5. The reason is pure topography: one direction rides a descending ridge, the other fights a 1,400 m climb. Plan accordingly.
The Masakado legend. The Kamosawa trail is dotted with old signboards telling episodes from the retreat of the 10th-century rebel Taira no Masakado through these mountains — resting, cooking, bathing his way through defeat. Most hikers stride past without reading a word. Slow down; it is free local history.
Mitsumine has its own onsen. The shrine at the Saitama trailhead has a hot spring bath — which means doing the traverse in reverse (Okutama → Mitsumine) ends with a shrine-side soak most hikers never discover. Just remember the reverse direction is the hard one.
Finally, the night view. Almost every guide talks about Fuji, but the view east from Kumotori-sanso after dark — the Kanto plain glittering 2,000 metres below — is the sleeper highlight. Stay overnight at least once for this alone.
Mount Kumotori Hike: FAQs
Can beginners do this hike?
Honestly, no — not as a first mountain. The trail is well-marked and non-technical, but 24 km with 1,800 m of gain is an expert-level day by any standard. Build up on shorter Okutama peaks first; our Mount Mitake guide and Mount Odake guide are the natural stepping stones in the same mountain range.
How much does it cost?
Overall, transport from central Tokyo runs roughly ¥2,500–3,500 round trip. A hut night is around ¥9,500 with two meals (confirm current prices when booking), camping about ¥1,500, plus onsen and food. Budget ¥12,000–15,000 per person for the two-day version, less if you day-hike and self-cater.
Is the trail well marked?
Yes — both main routes are well-signed in Japanese with regular distance markers, and the ridge routes are hard to lose. That said, carry an offline map anyway; fog can erase the ridge in minutes and phone signal is unreliable.
Can I bring my dog?
Dogs are not prohibited on the trail itself, but this is a long, demanding route through bear habitat and a national park — it is not a suitable dog hike. The huts do not accept pets either. Leave them with a sitter for this one.
What if the weather turns?
In short, turn back. Kumotori's huts make retreat comfortable rather than humiliating — drop to Kumotori-sanso or Nanatsuishi-goya, wait it out, and try the summit at dawn. The mountain rewards patience far more than stubbornness.
The Mount Kumotori hike is the definitive Tokyo mountain: a 100 Famous Mountain, the city's highest point, a shrine-to-summit pilgrimage, and — on the right October morning — a front-row seat to Mount Fuji above a sea of clouds. It asks a lot: an early start, strong legs, two litres of water, and respect for the distance. It pays back more. Plan it well, book the hut, watch the sky — and when you stand on that 2,017-metre summit, take a moment before the photos. You have earned the quiet.
If Kumotori has lit the hiking fire, keep exploring: our best one-day hikes in Japan rounds up shorter adventures, and the Mount Mitake to Mount Odake traverse is the perfect next step in the very same Okutama mountains. See you on the ridge.

1 thought on “Mount Kumotori Hike: Complete Guide to Tokyo’s Highest Peak”